


What is portainer?
Portainer is a tool with great UI, which is used to manage and build containers in Docker, docker swarm and Kubernetes and Azure ACI (Azure container instance) without the use of CLI and Yaml configurations.
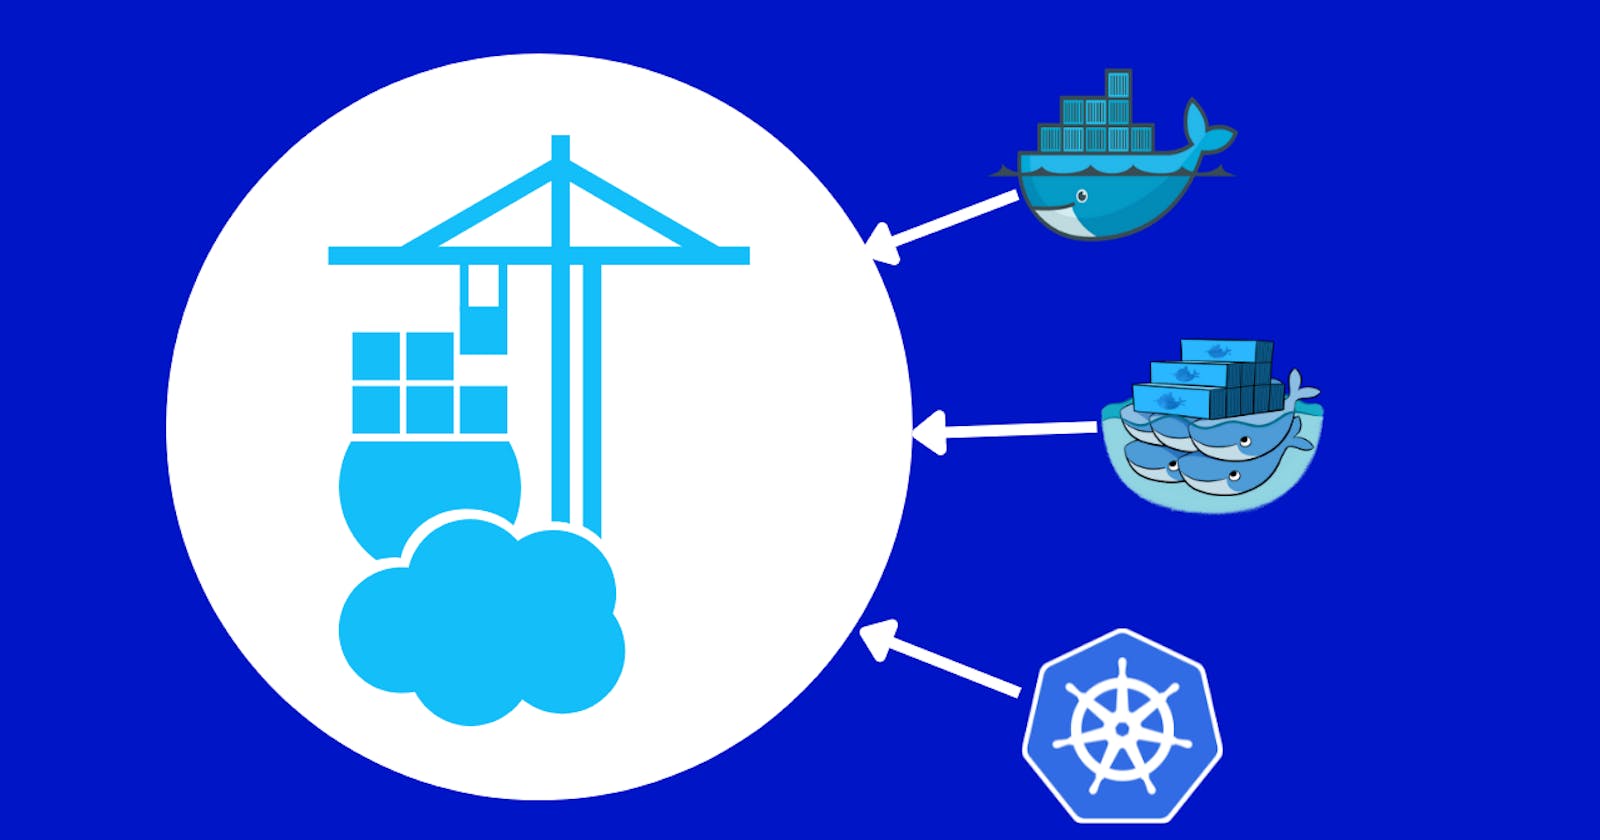
Briefly about portainer architecture.
Portainer comprises two components, portainer server and portainer agent. A portainer agent has to be deployed in all the nodes of the cluster, all the agents then reports to a particular poratiner server present in the same network from where all the containers are managed. To establish the connection between a remote environment another type of portainer agent called edge agent is used which is deployed in the remote environment to be accesed by the portainer server.
Why use portainer?
One of the main reasons to use portainer is, its easy to use web application interface.
It helps to manage and debug containers without using the command line interface.
Since everything is very clearly presented in the consol it is effortless to optimize and improve the performance.
As all the containers are connected to a single web page, there is no need to connect to each container individually to check their status, thus it saves a lot of time.
Furthermore, companies can use the enterprise edition of portainer to manage their apps more scalable and secure.
In portainer different roles can be assigned to the team members with different access rights.
It also keeps the logs of all the management activities, such as who created or deleted a container.
How did I Install portainer in the Kubernetes environment?
I am using Linux based Ubuntu 20.04 operating system. I have a single node minikube cluster running using the VirtualBox VM.
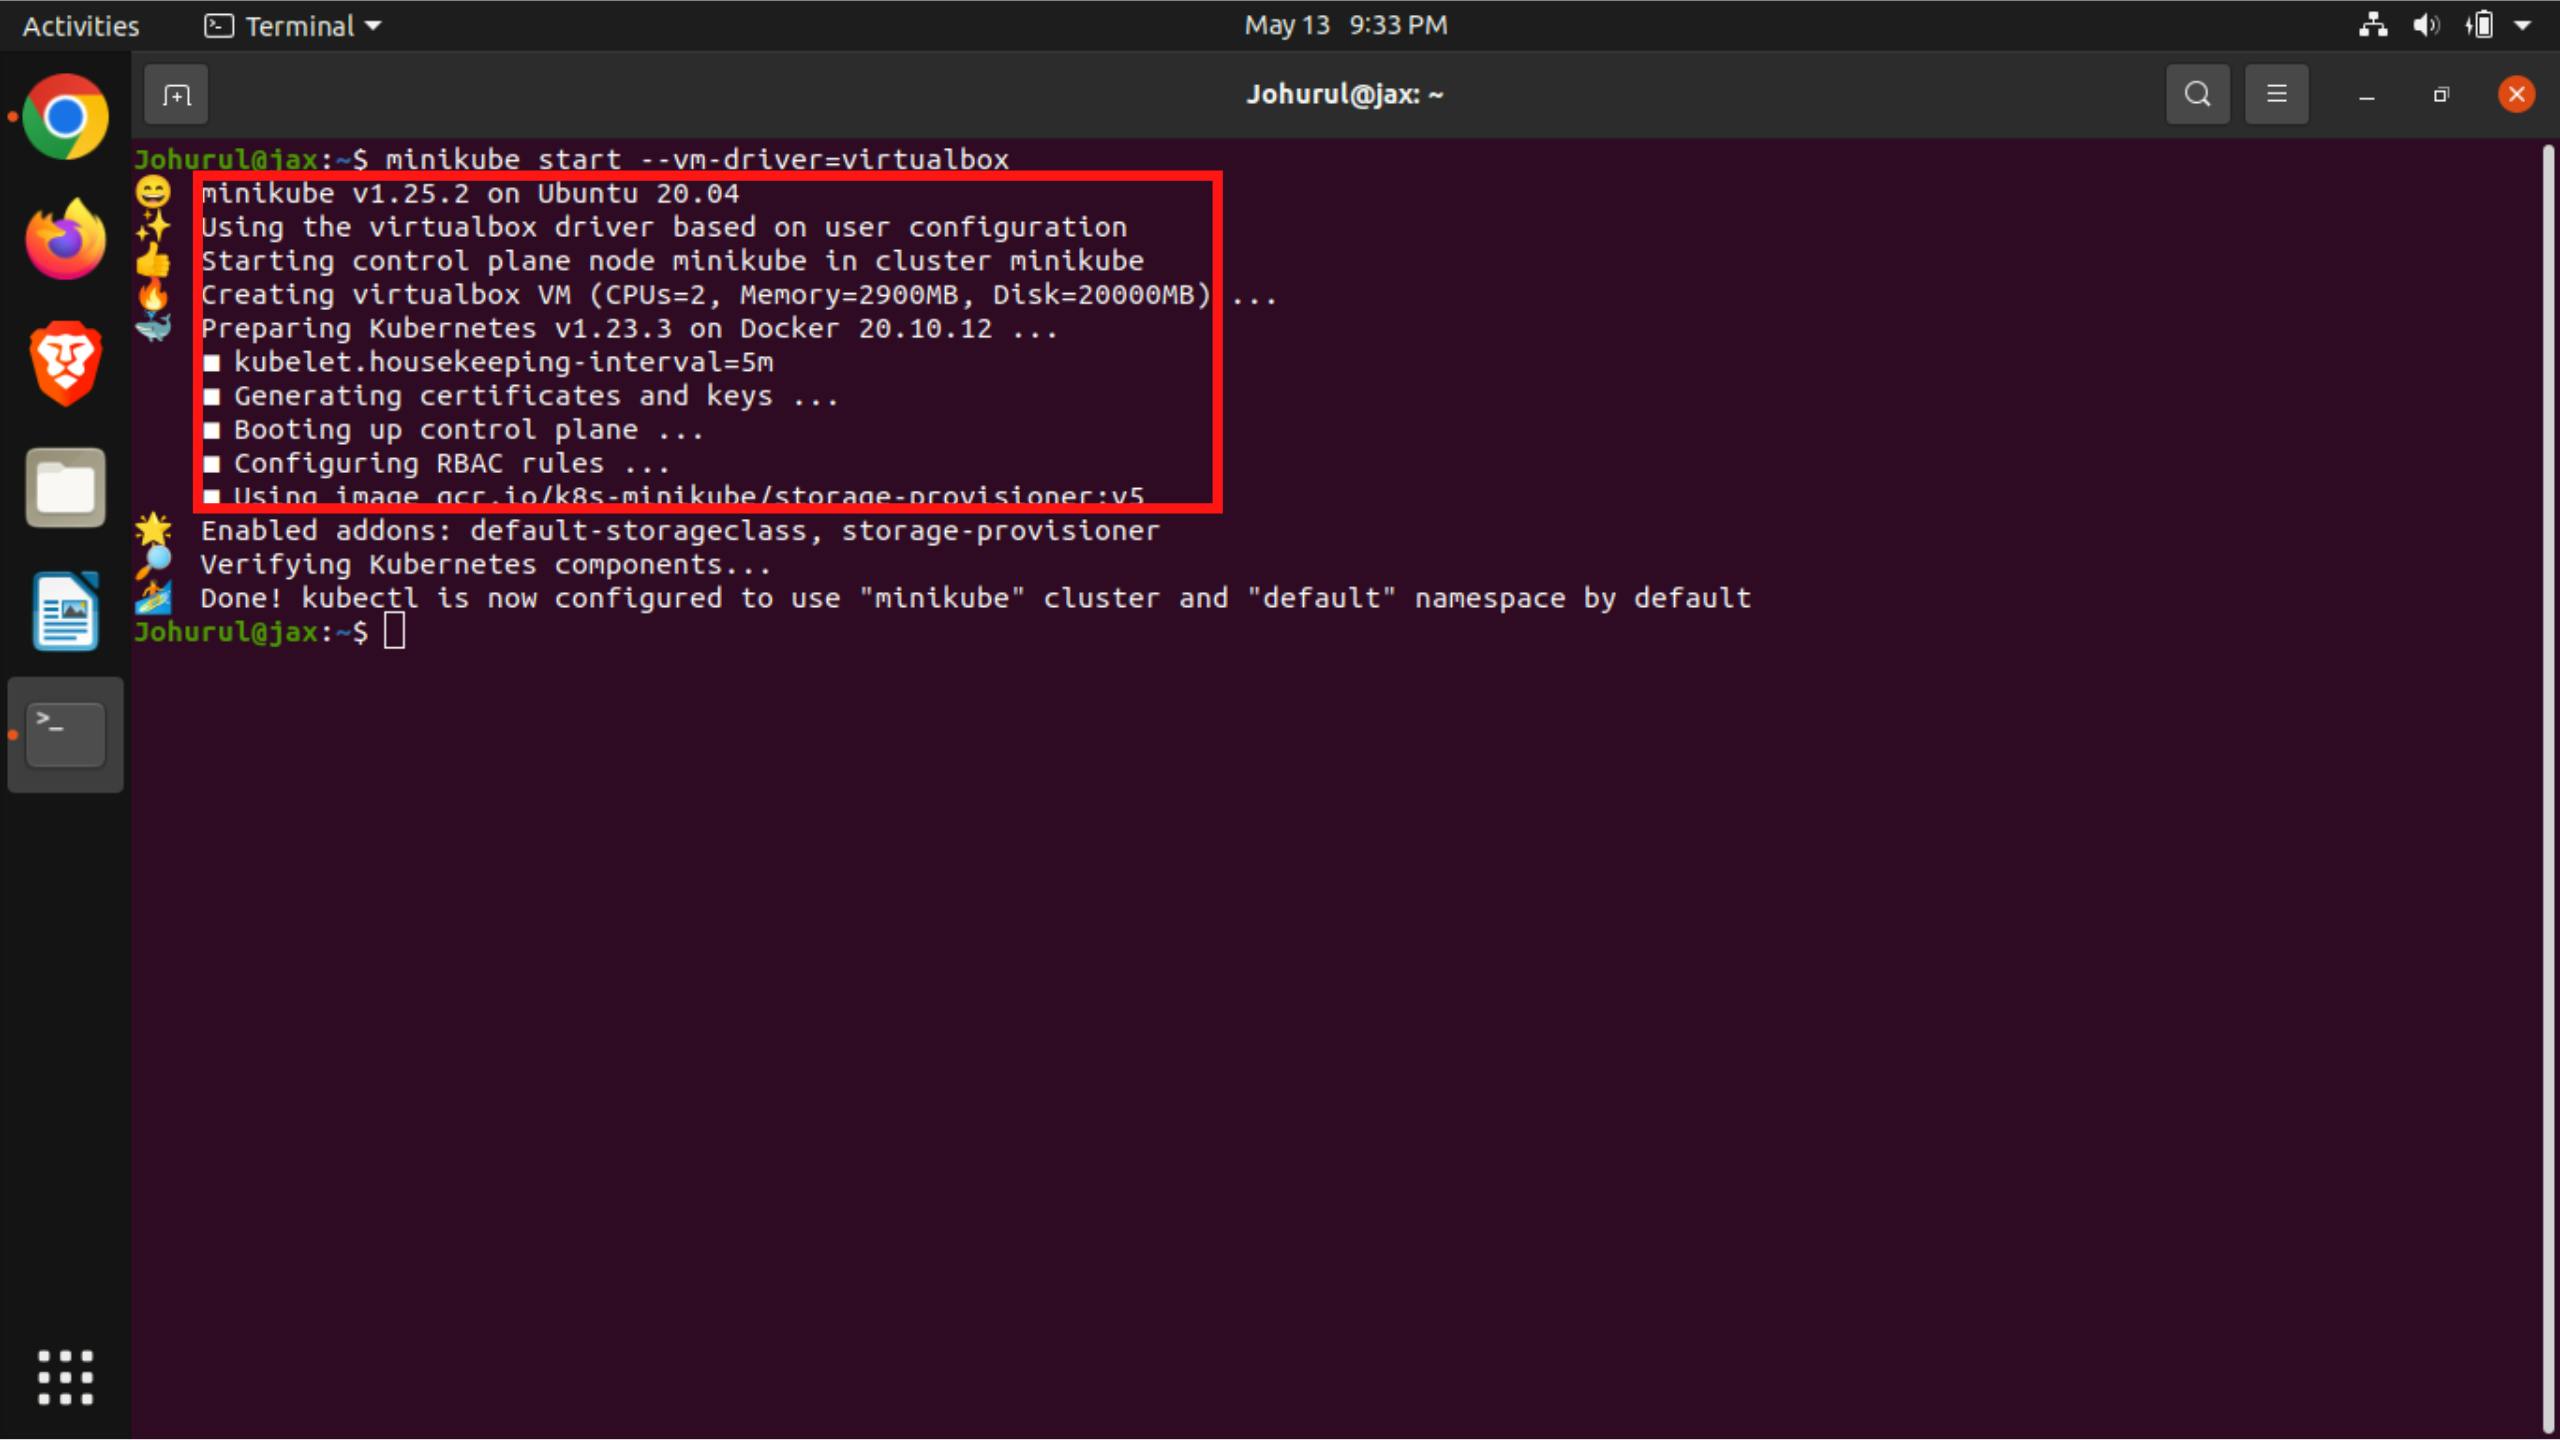
Step 1:
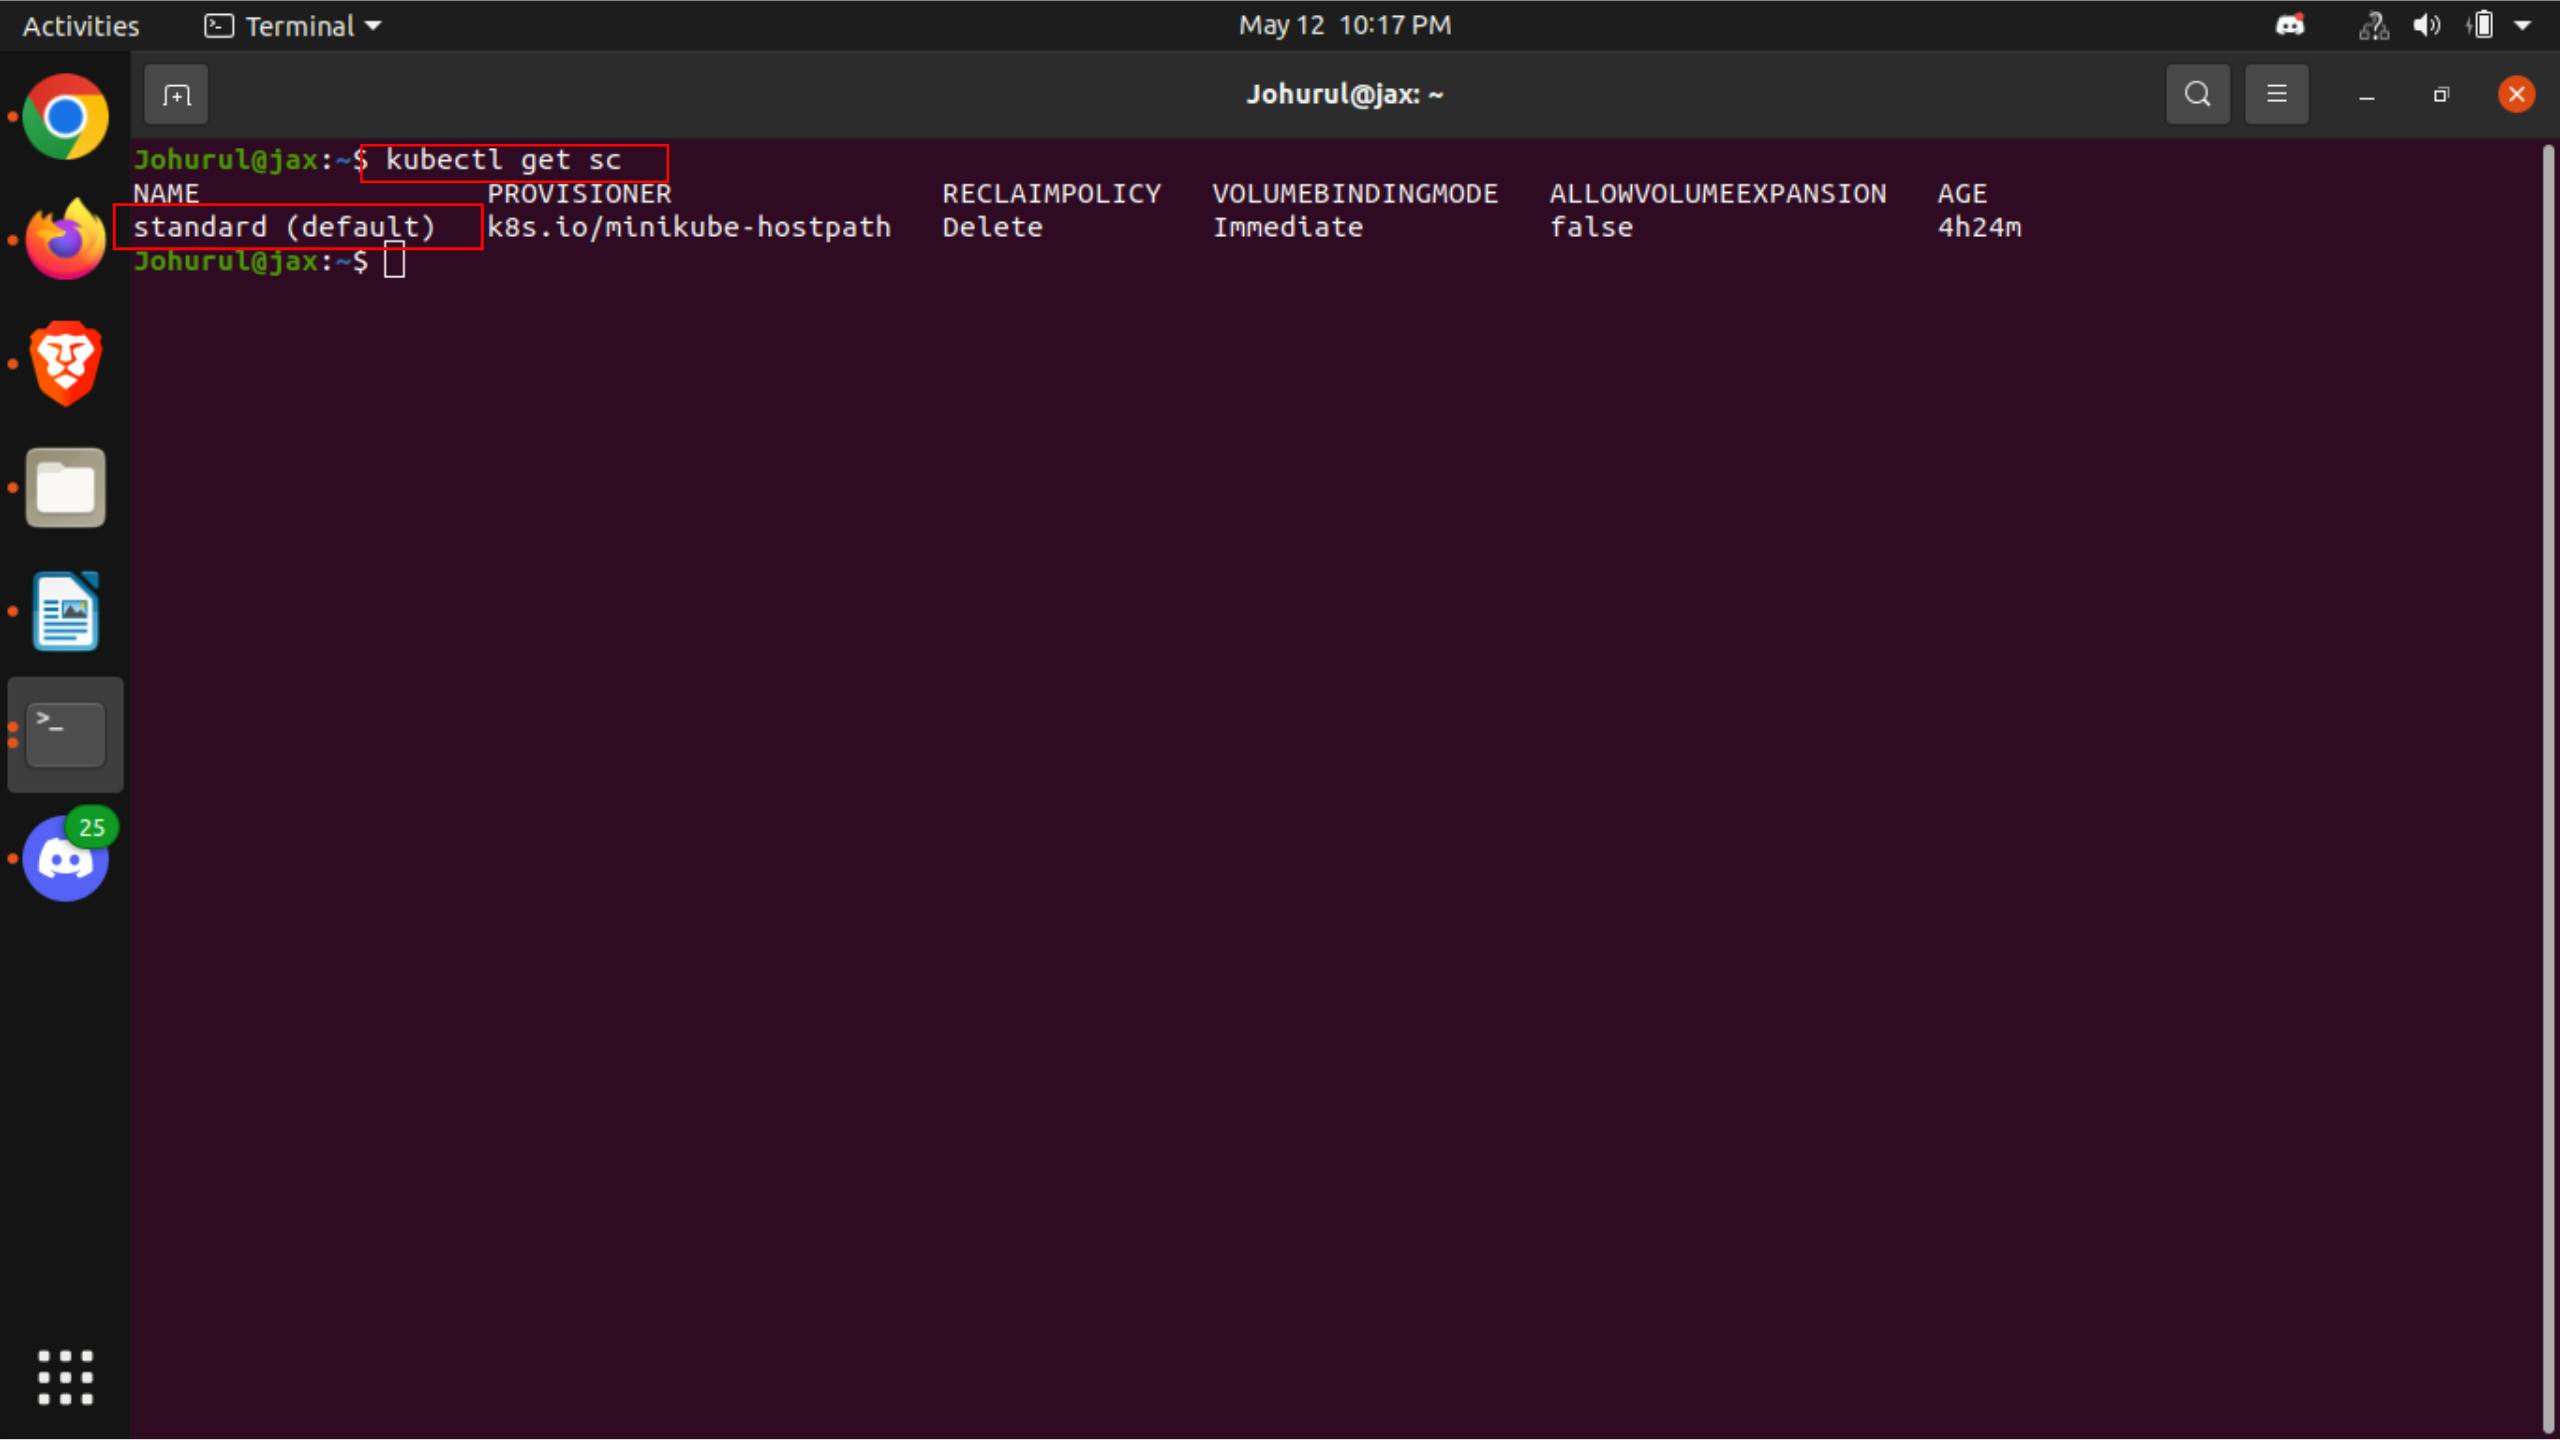
To deploy portainer in kubernetes environment we need to check if there is at least one storage class present and it is set to default. To do that we can use the command:-
kubectl get sc
If the storage class is not marked as default then we can use the below command to set a default storage class.
kubectl patch storageclass <storage-class-name> -p '{"metadata": {"annotations":
{"storageclass.kubernetes.io/is-default-class":"true"}}}'
we have to replace with our storage class name.
Step 2:
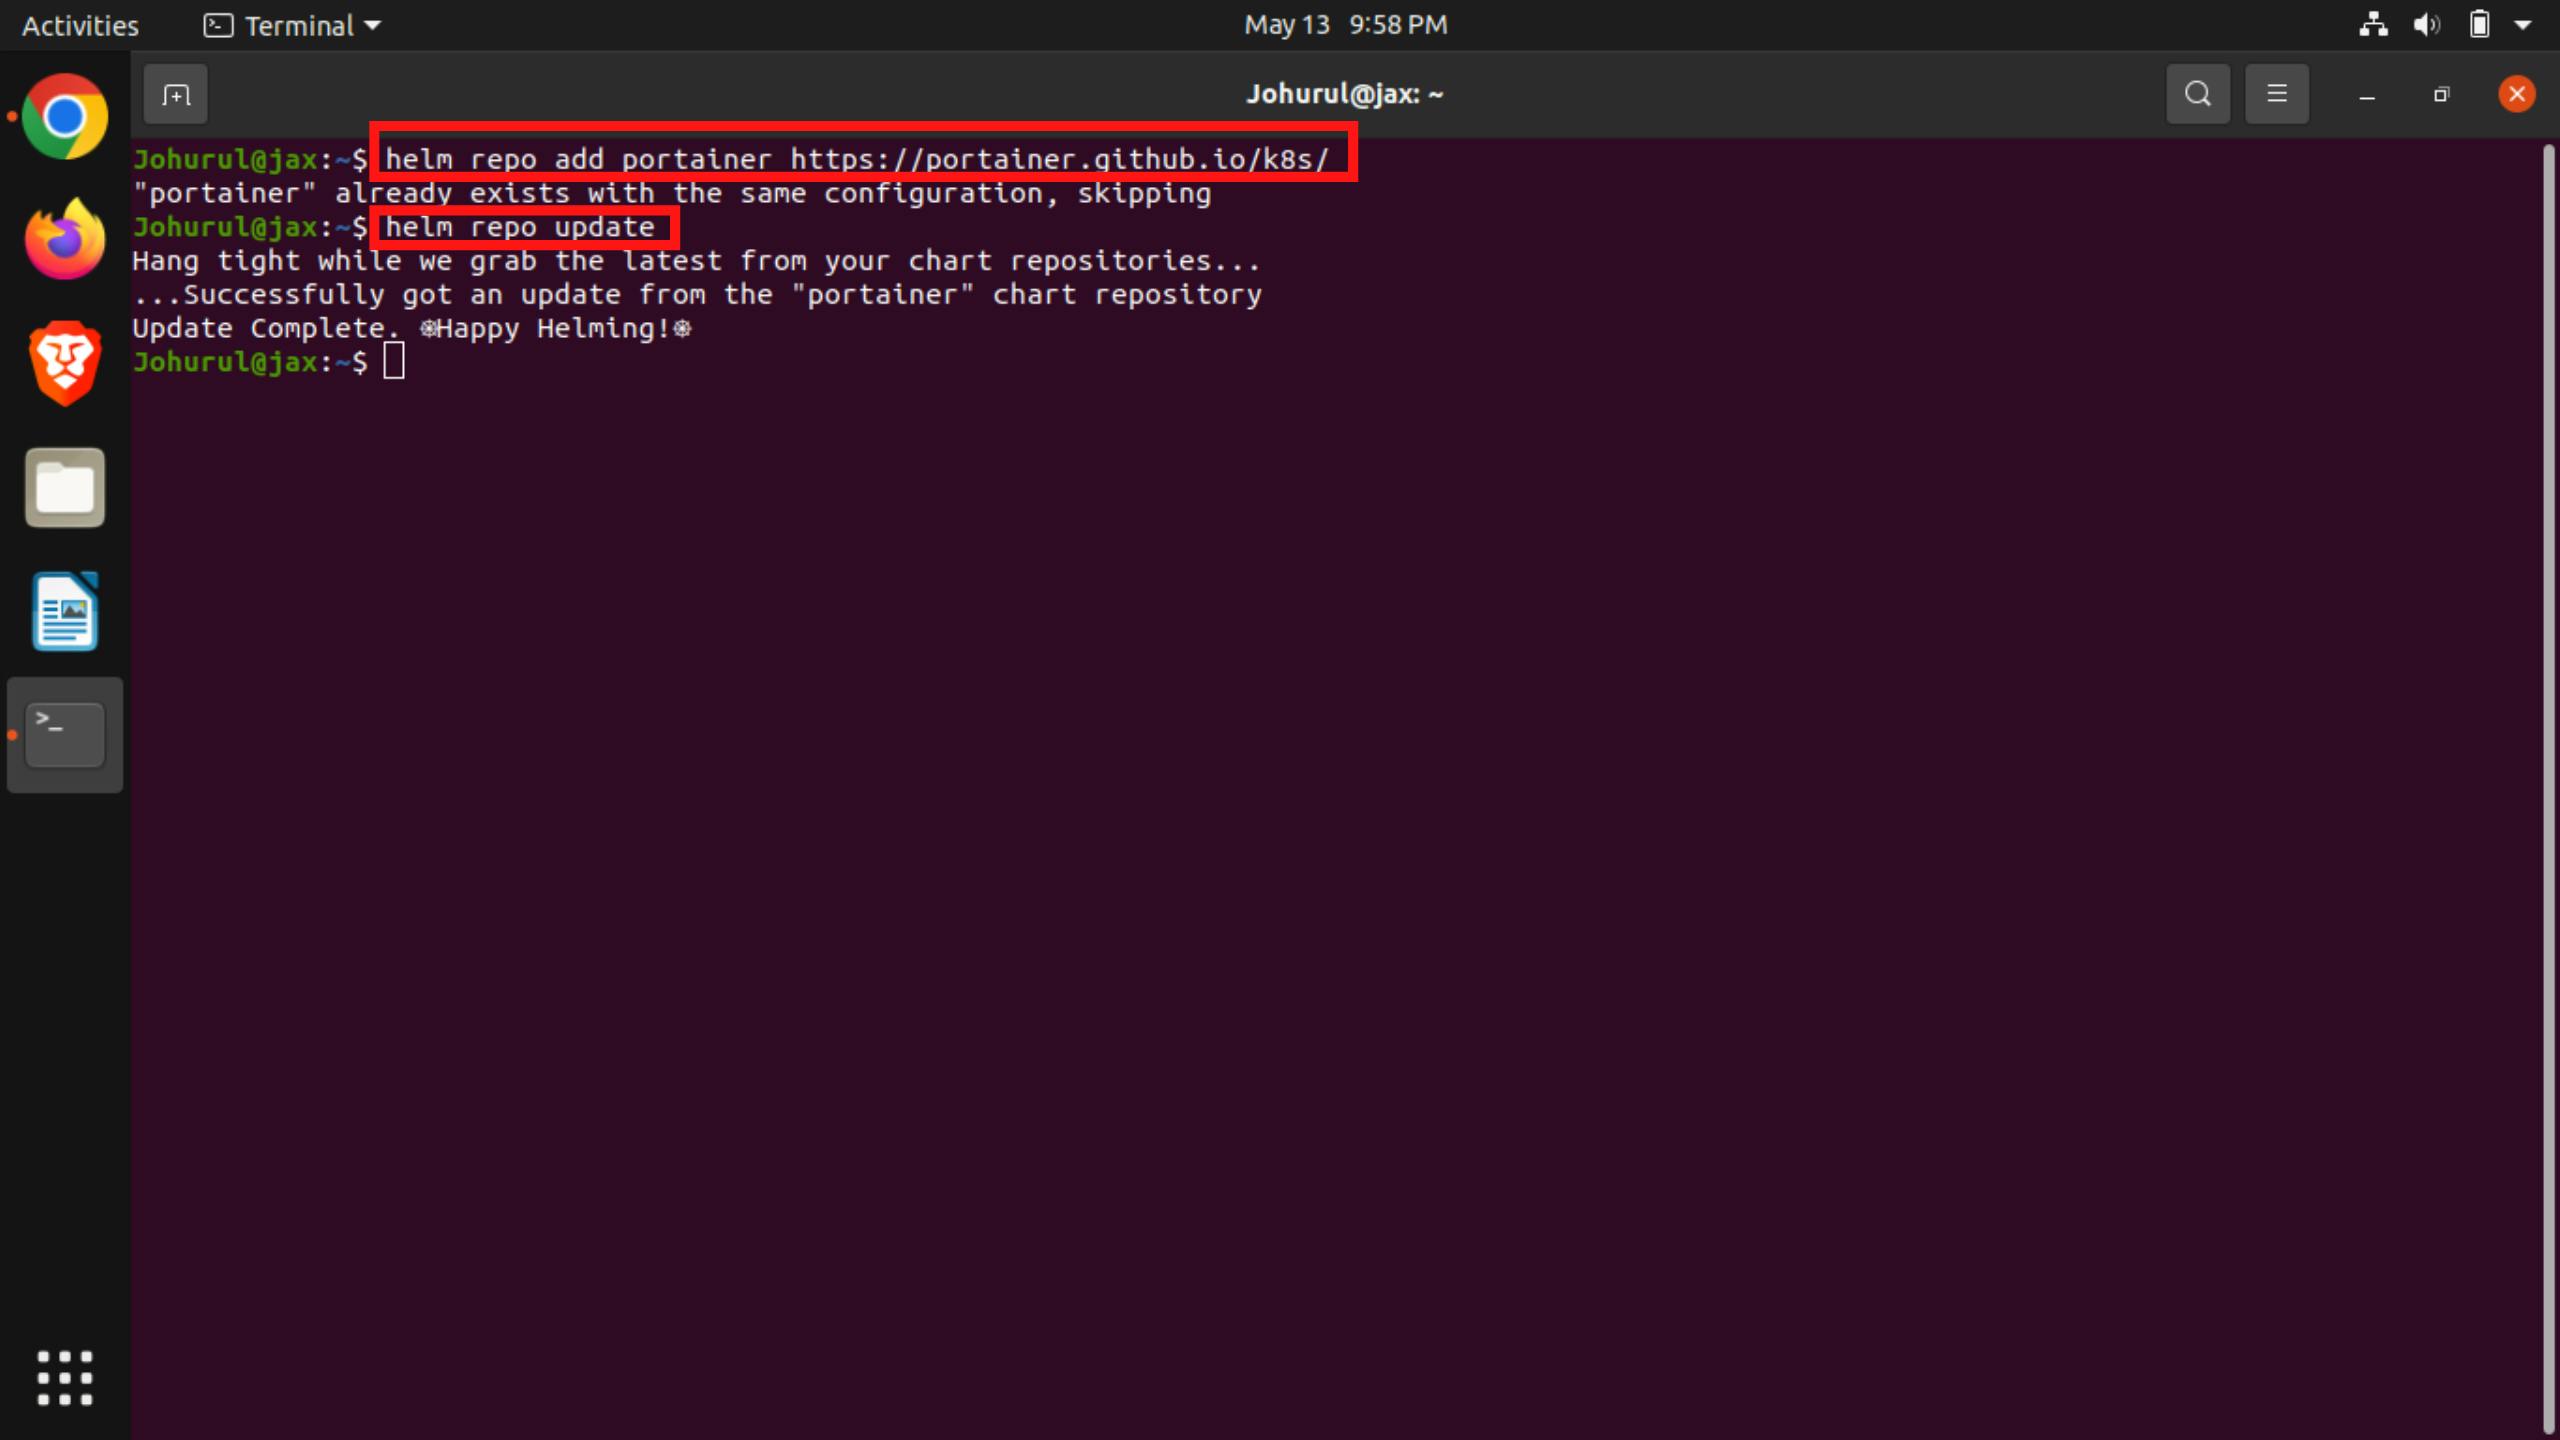
We have to get the portainer helm repository from GitHub using the commands,
helm repo add portainer https://portainer.github.io/k8s/
helm repo update
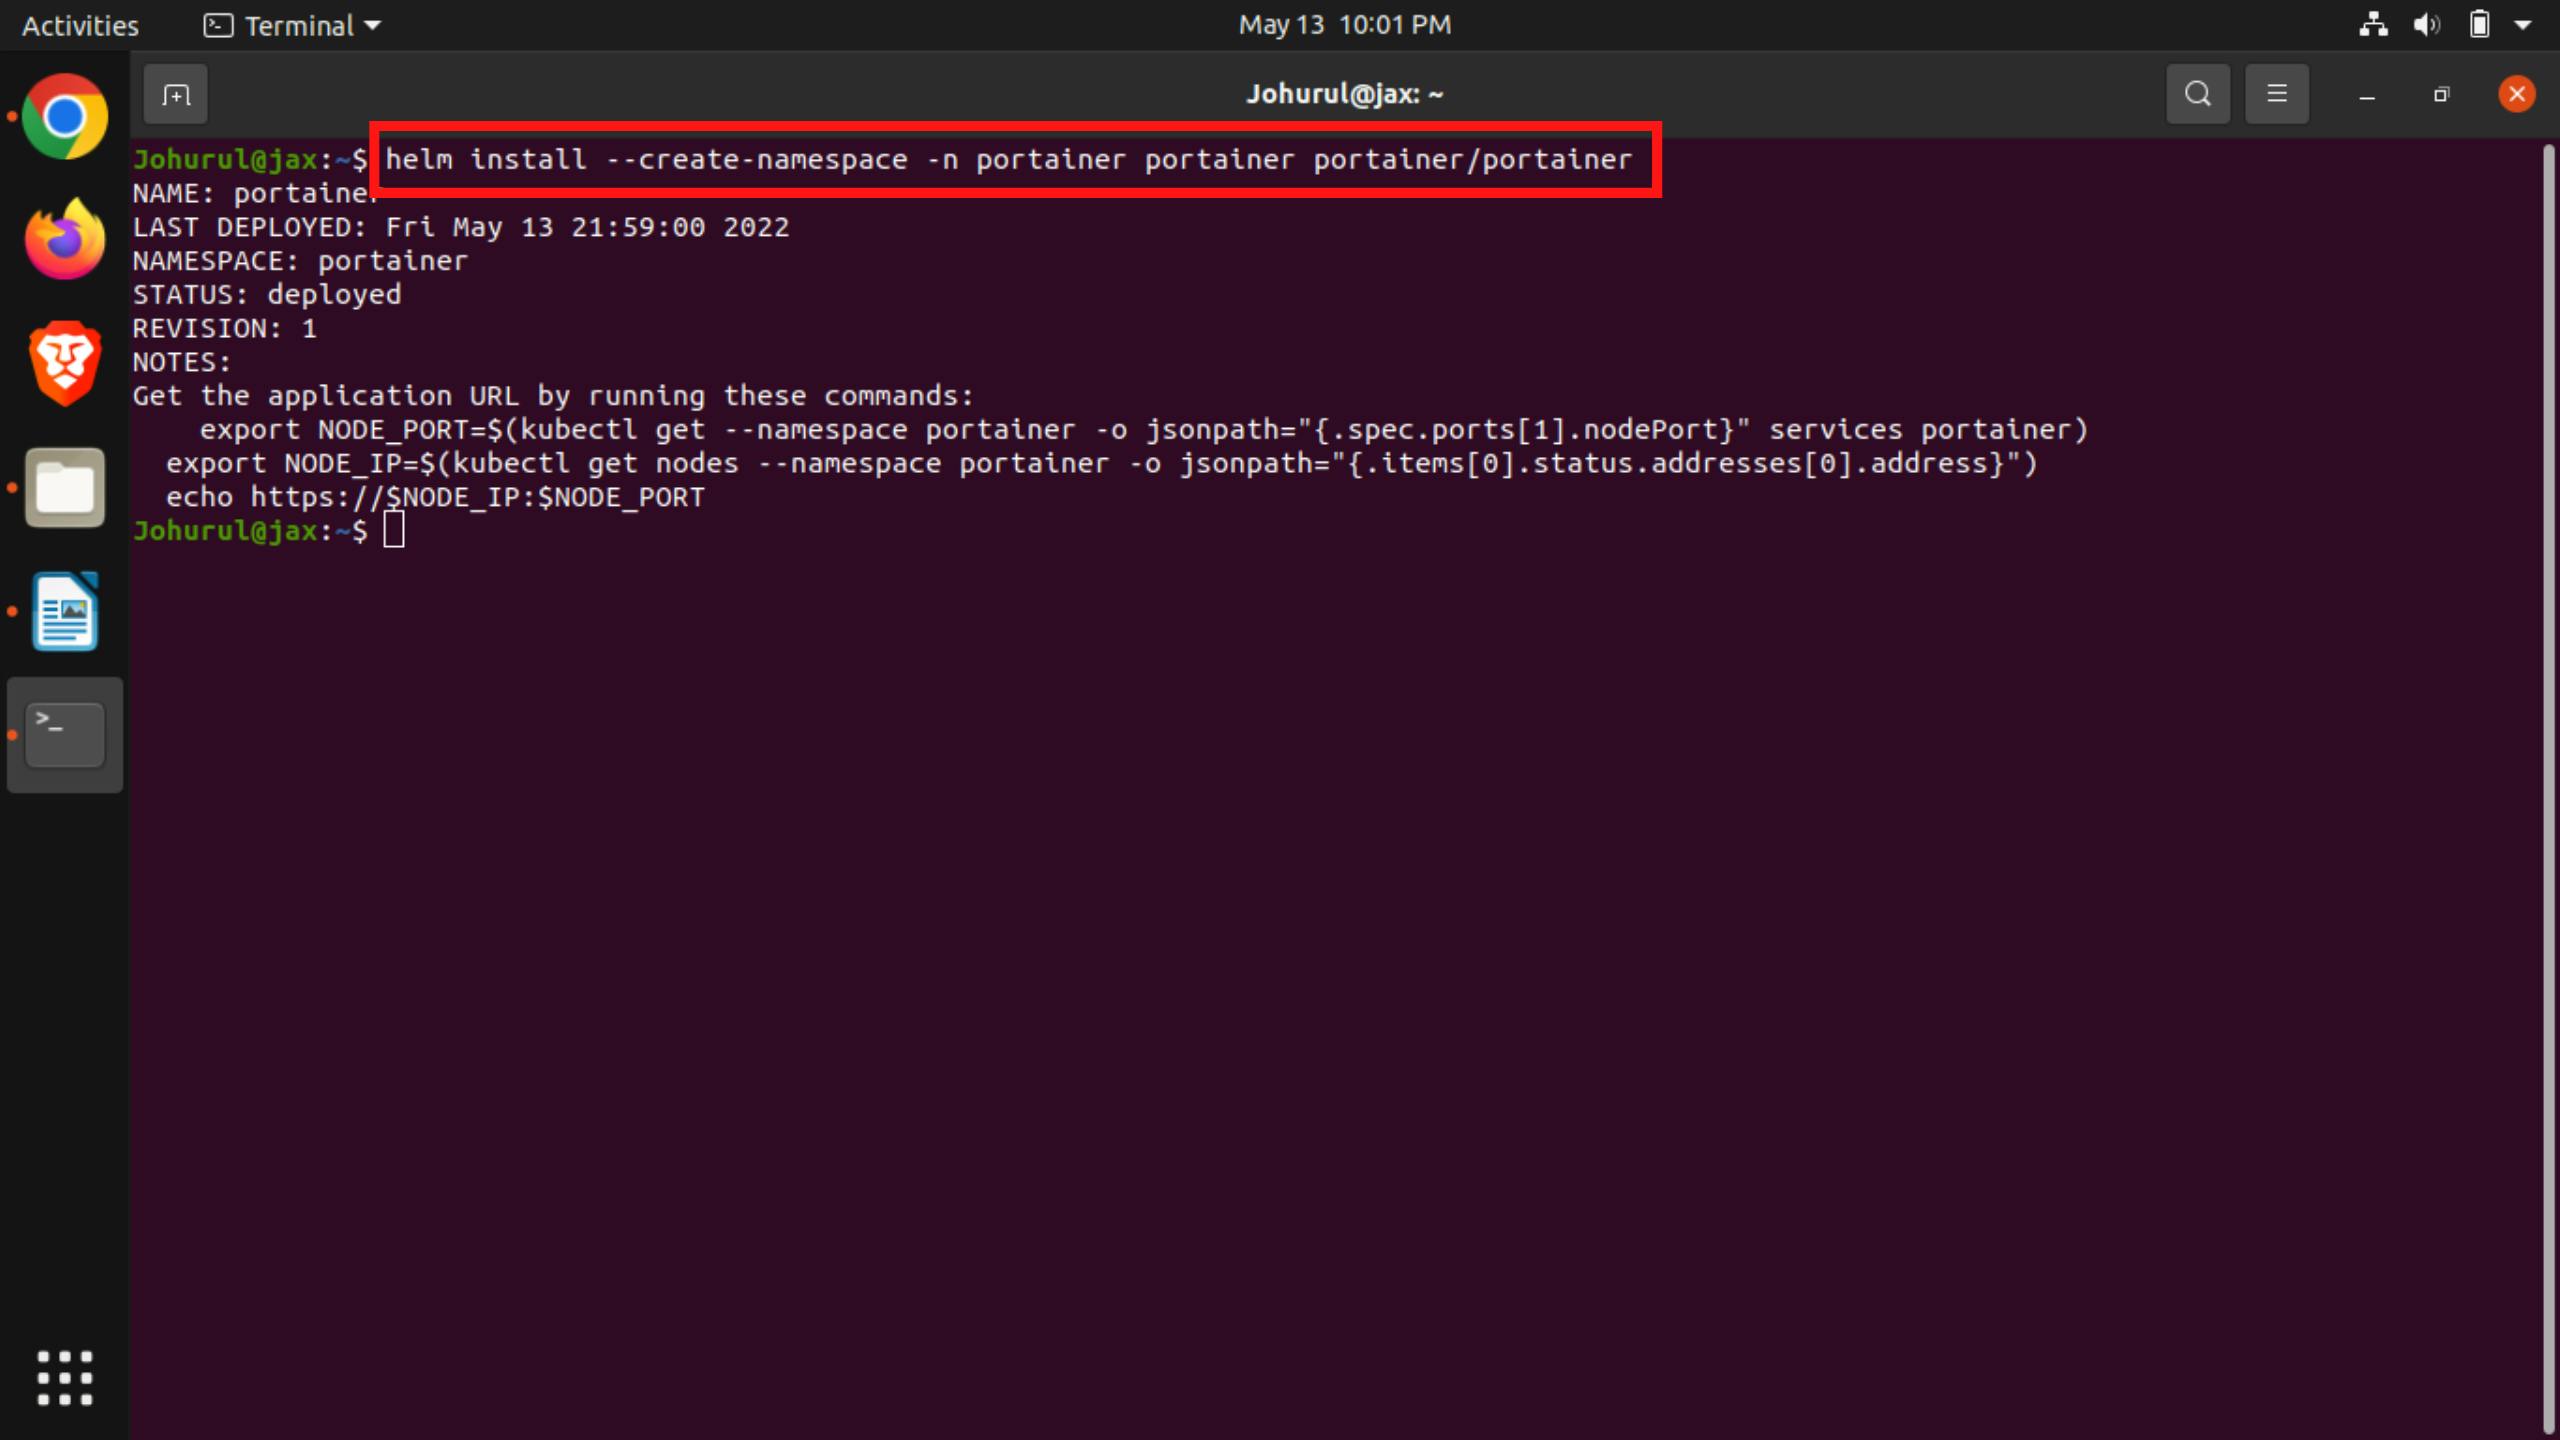
Step 3:
To expose the portainer services using node port we have use the command,
helm install --create-namespace -n portainer portainer portainer/portainer
Step 4:
To get the portainer web application URL we have to use the following commands
export NODE_PORT=$(kubectl get --namespace portainer -o jsonpath="{.spec.ports[1].nodePort}" services portainer)

export NODE_IP=$(kubectl get nodes --namespace portainer -o jsonpath="{.items[0].status.addresses[0].address}")

echo https://$NODE_IP:$NODE_PORT

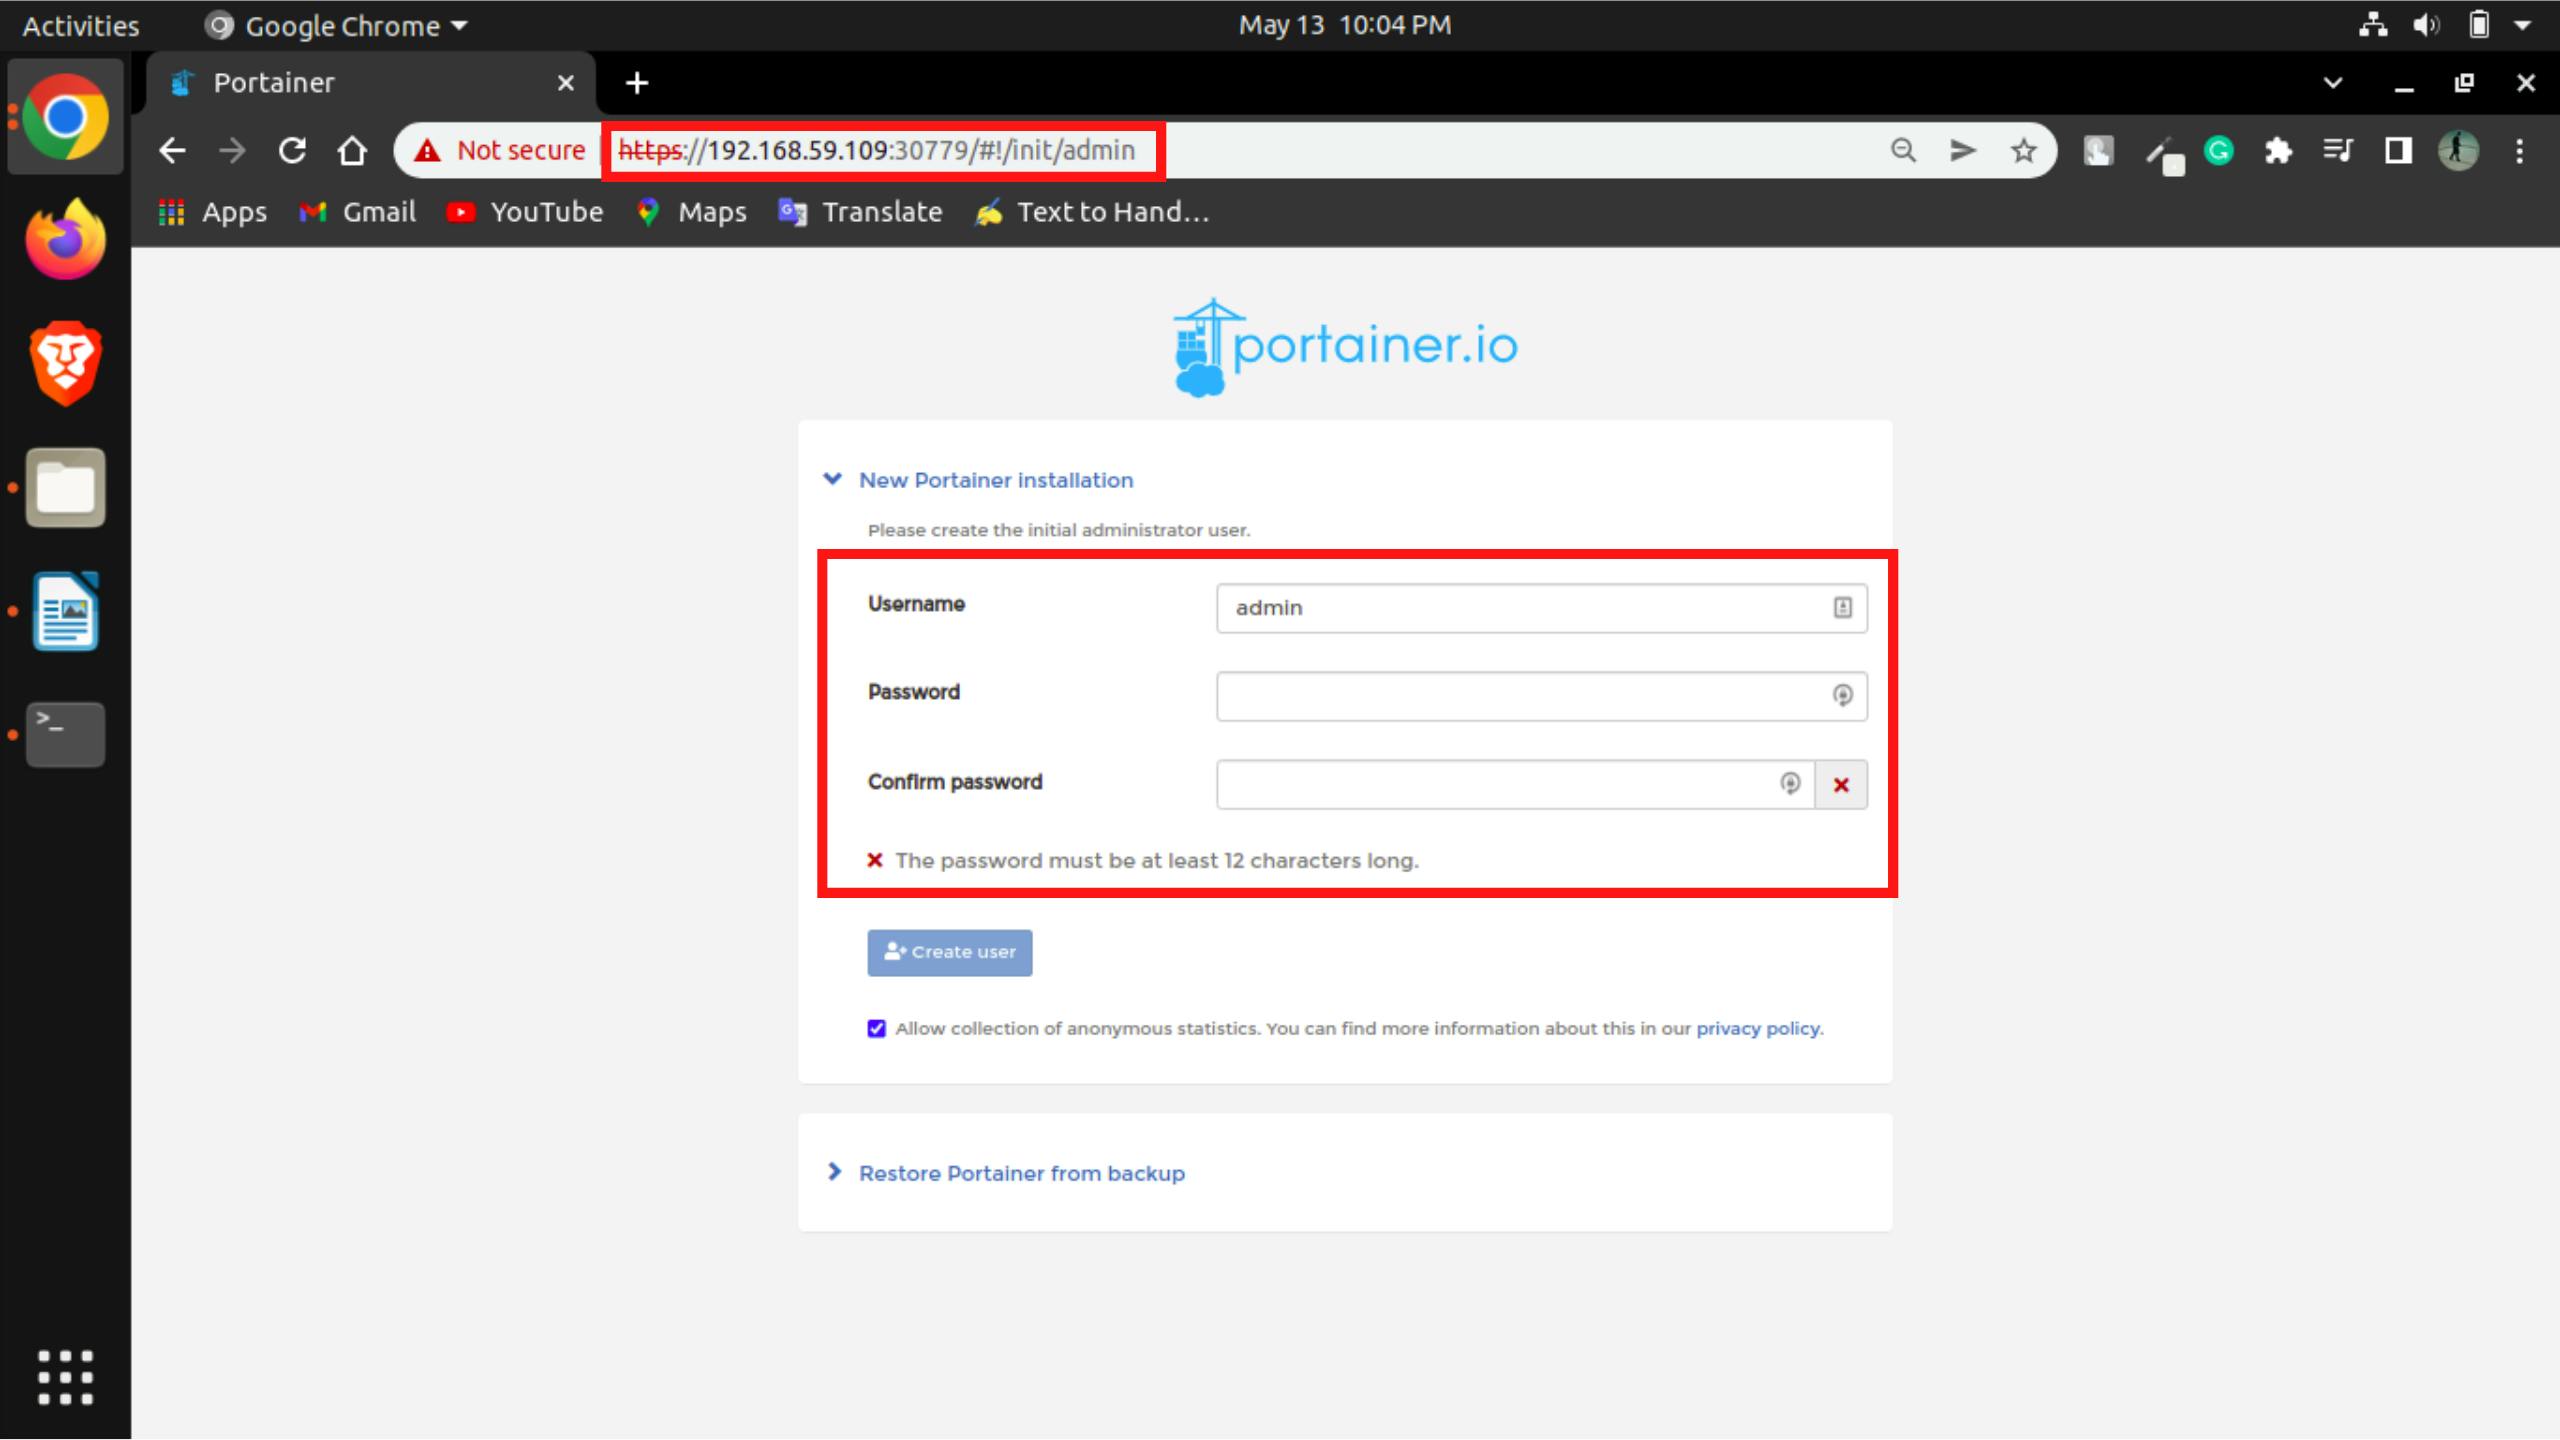
Now we can go to any web browser and enter the URL we got to get into the portainer web application interface and then register there by using a username and password.
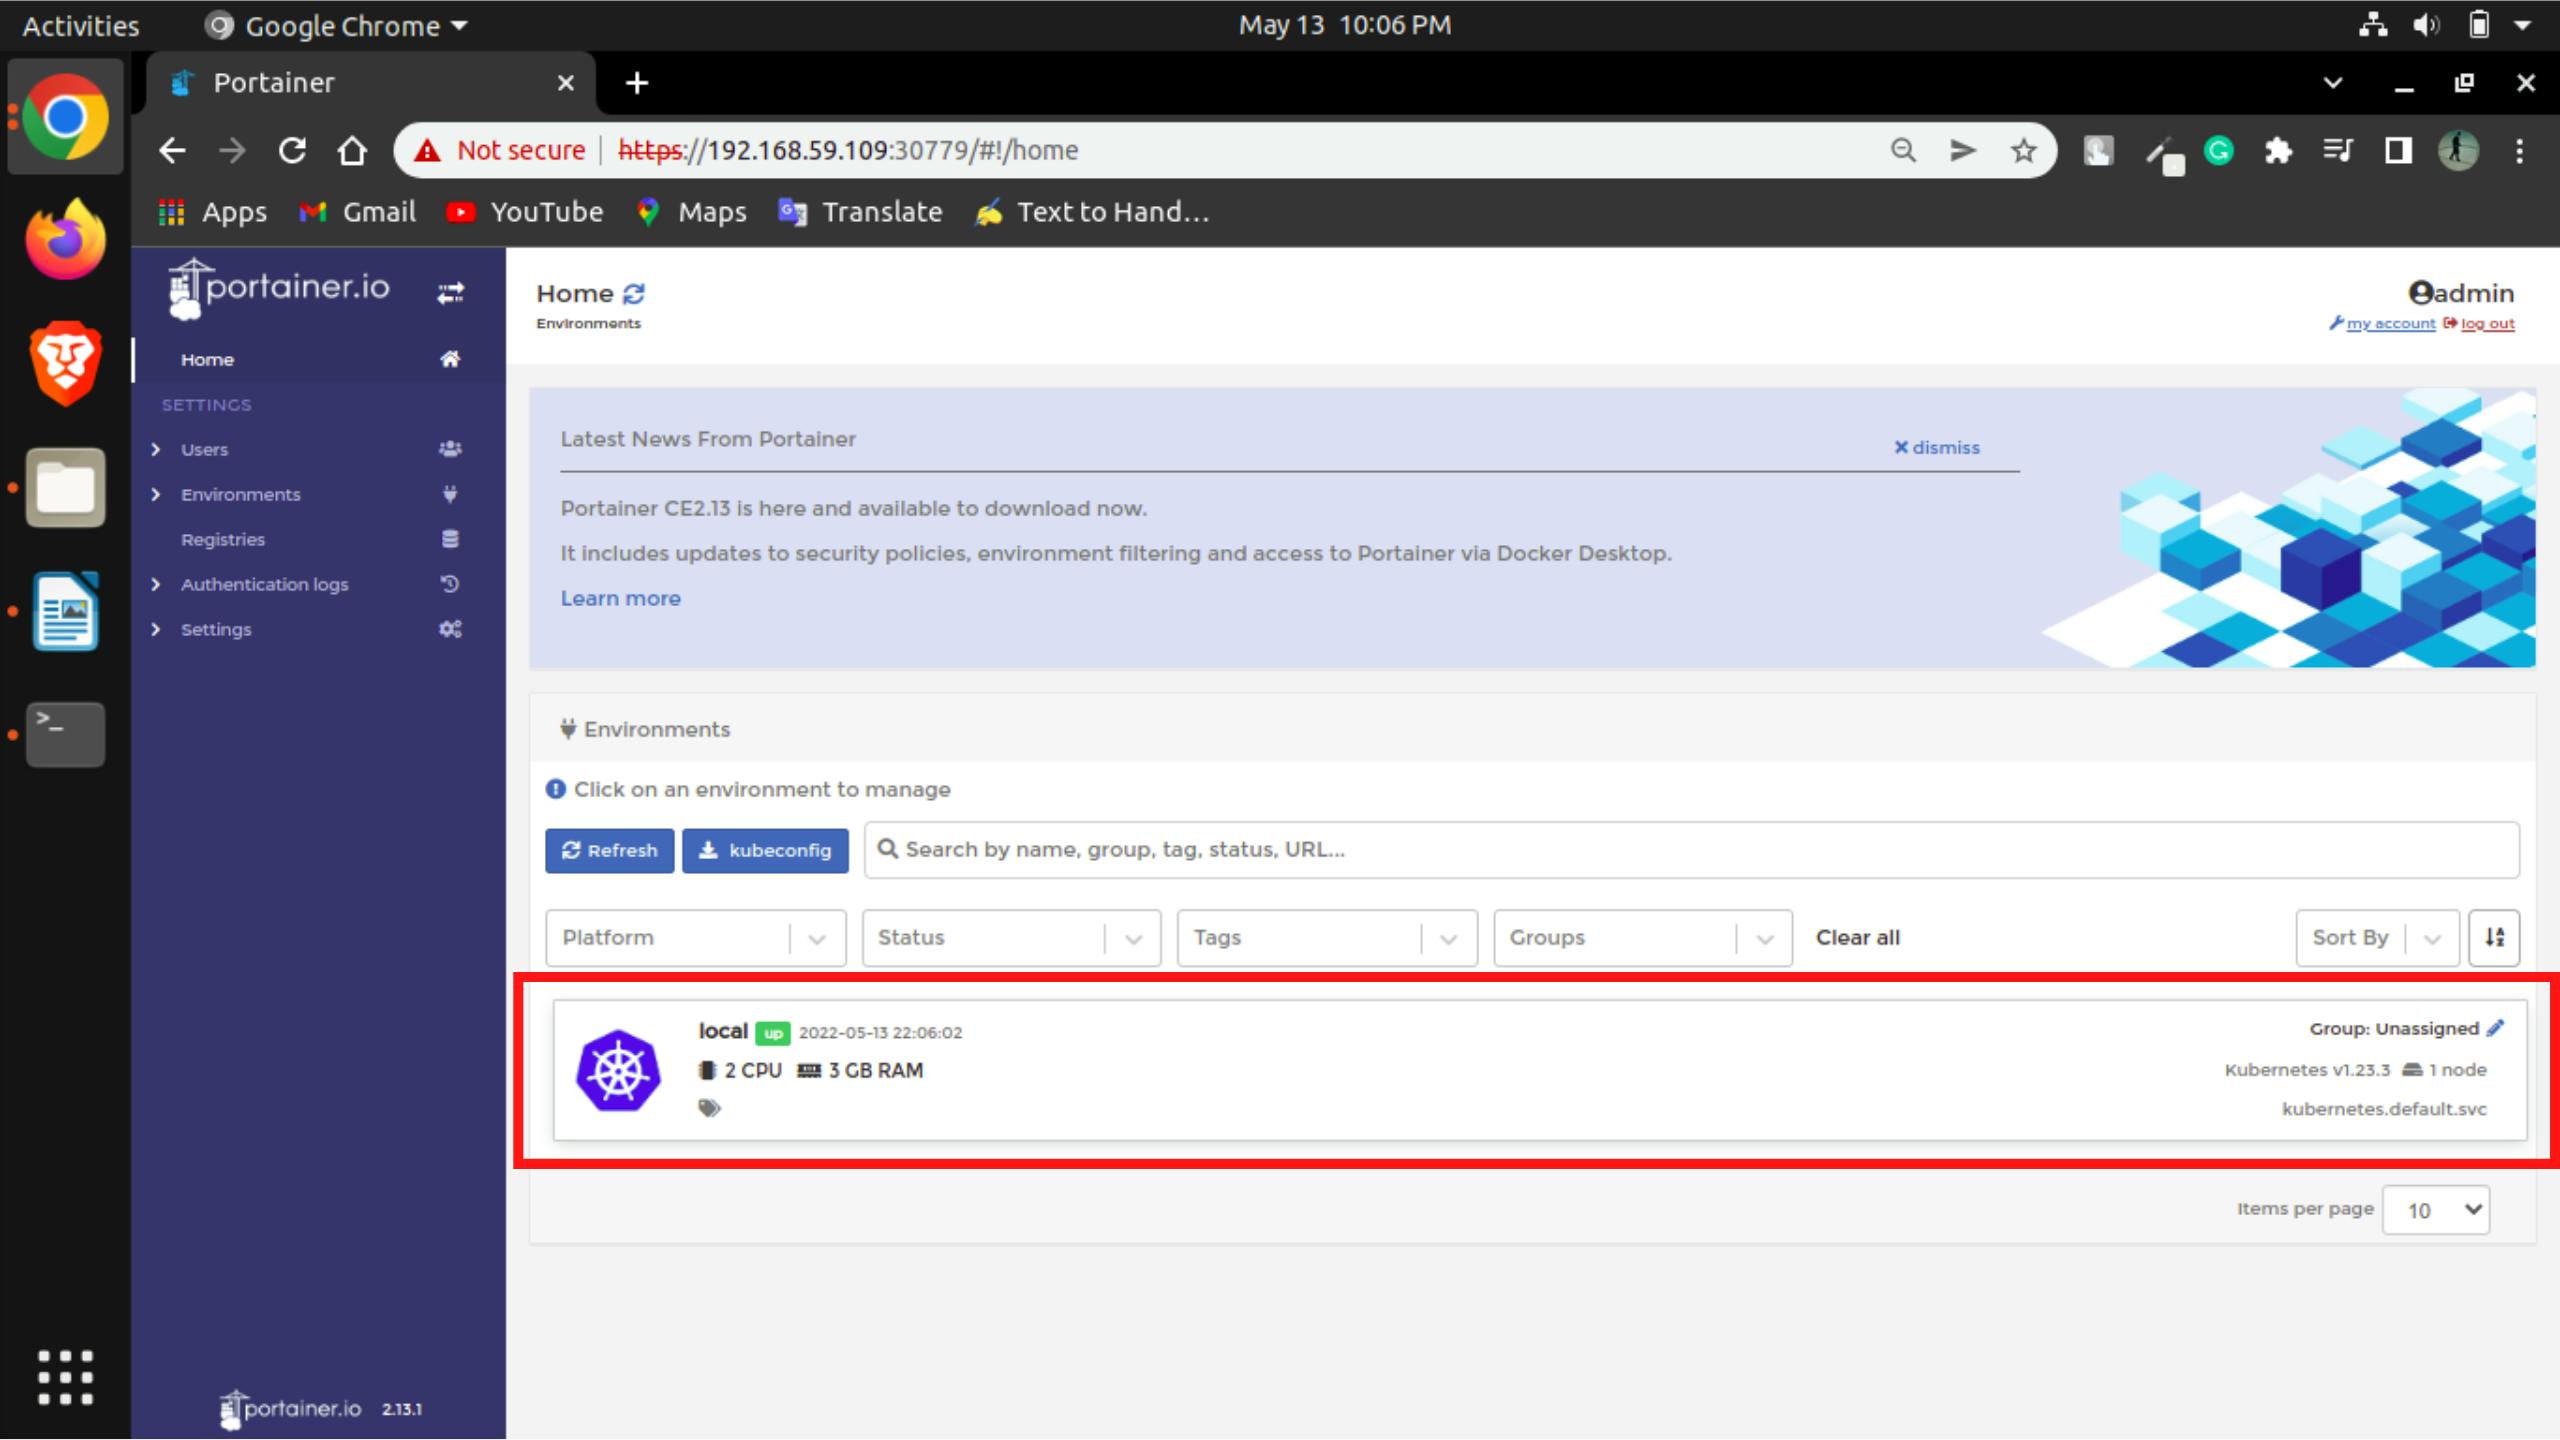
After that, we will choose our environment and then go to the dashboard from where we can manage the cluster.
Application Deployment
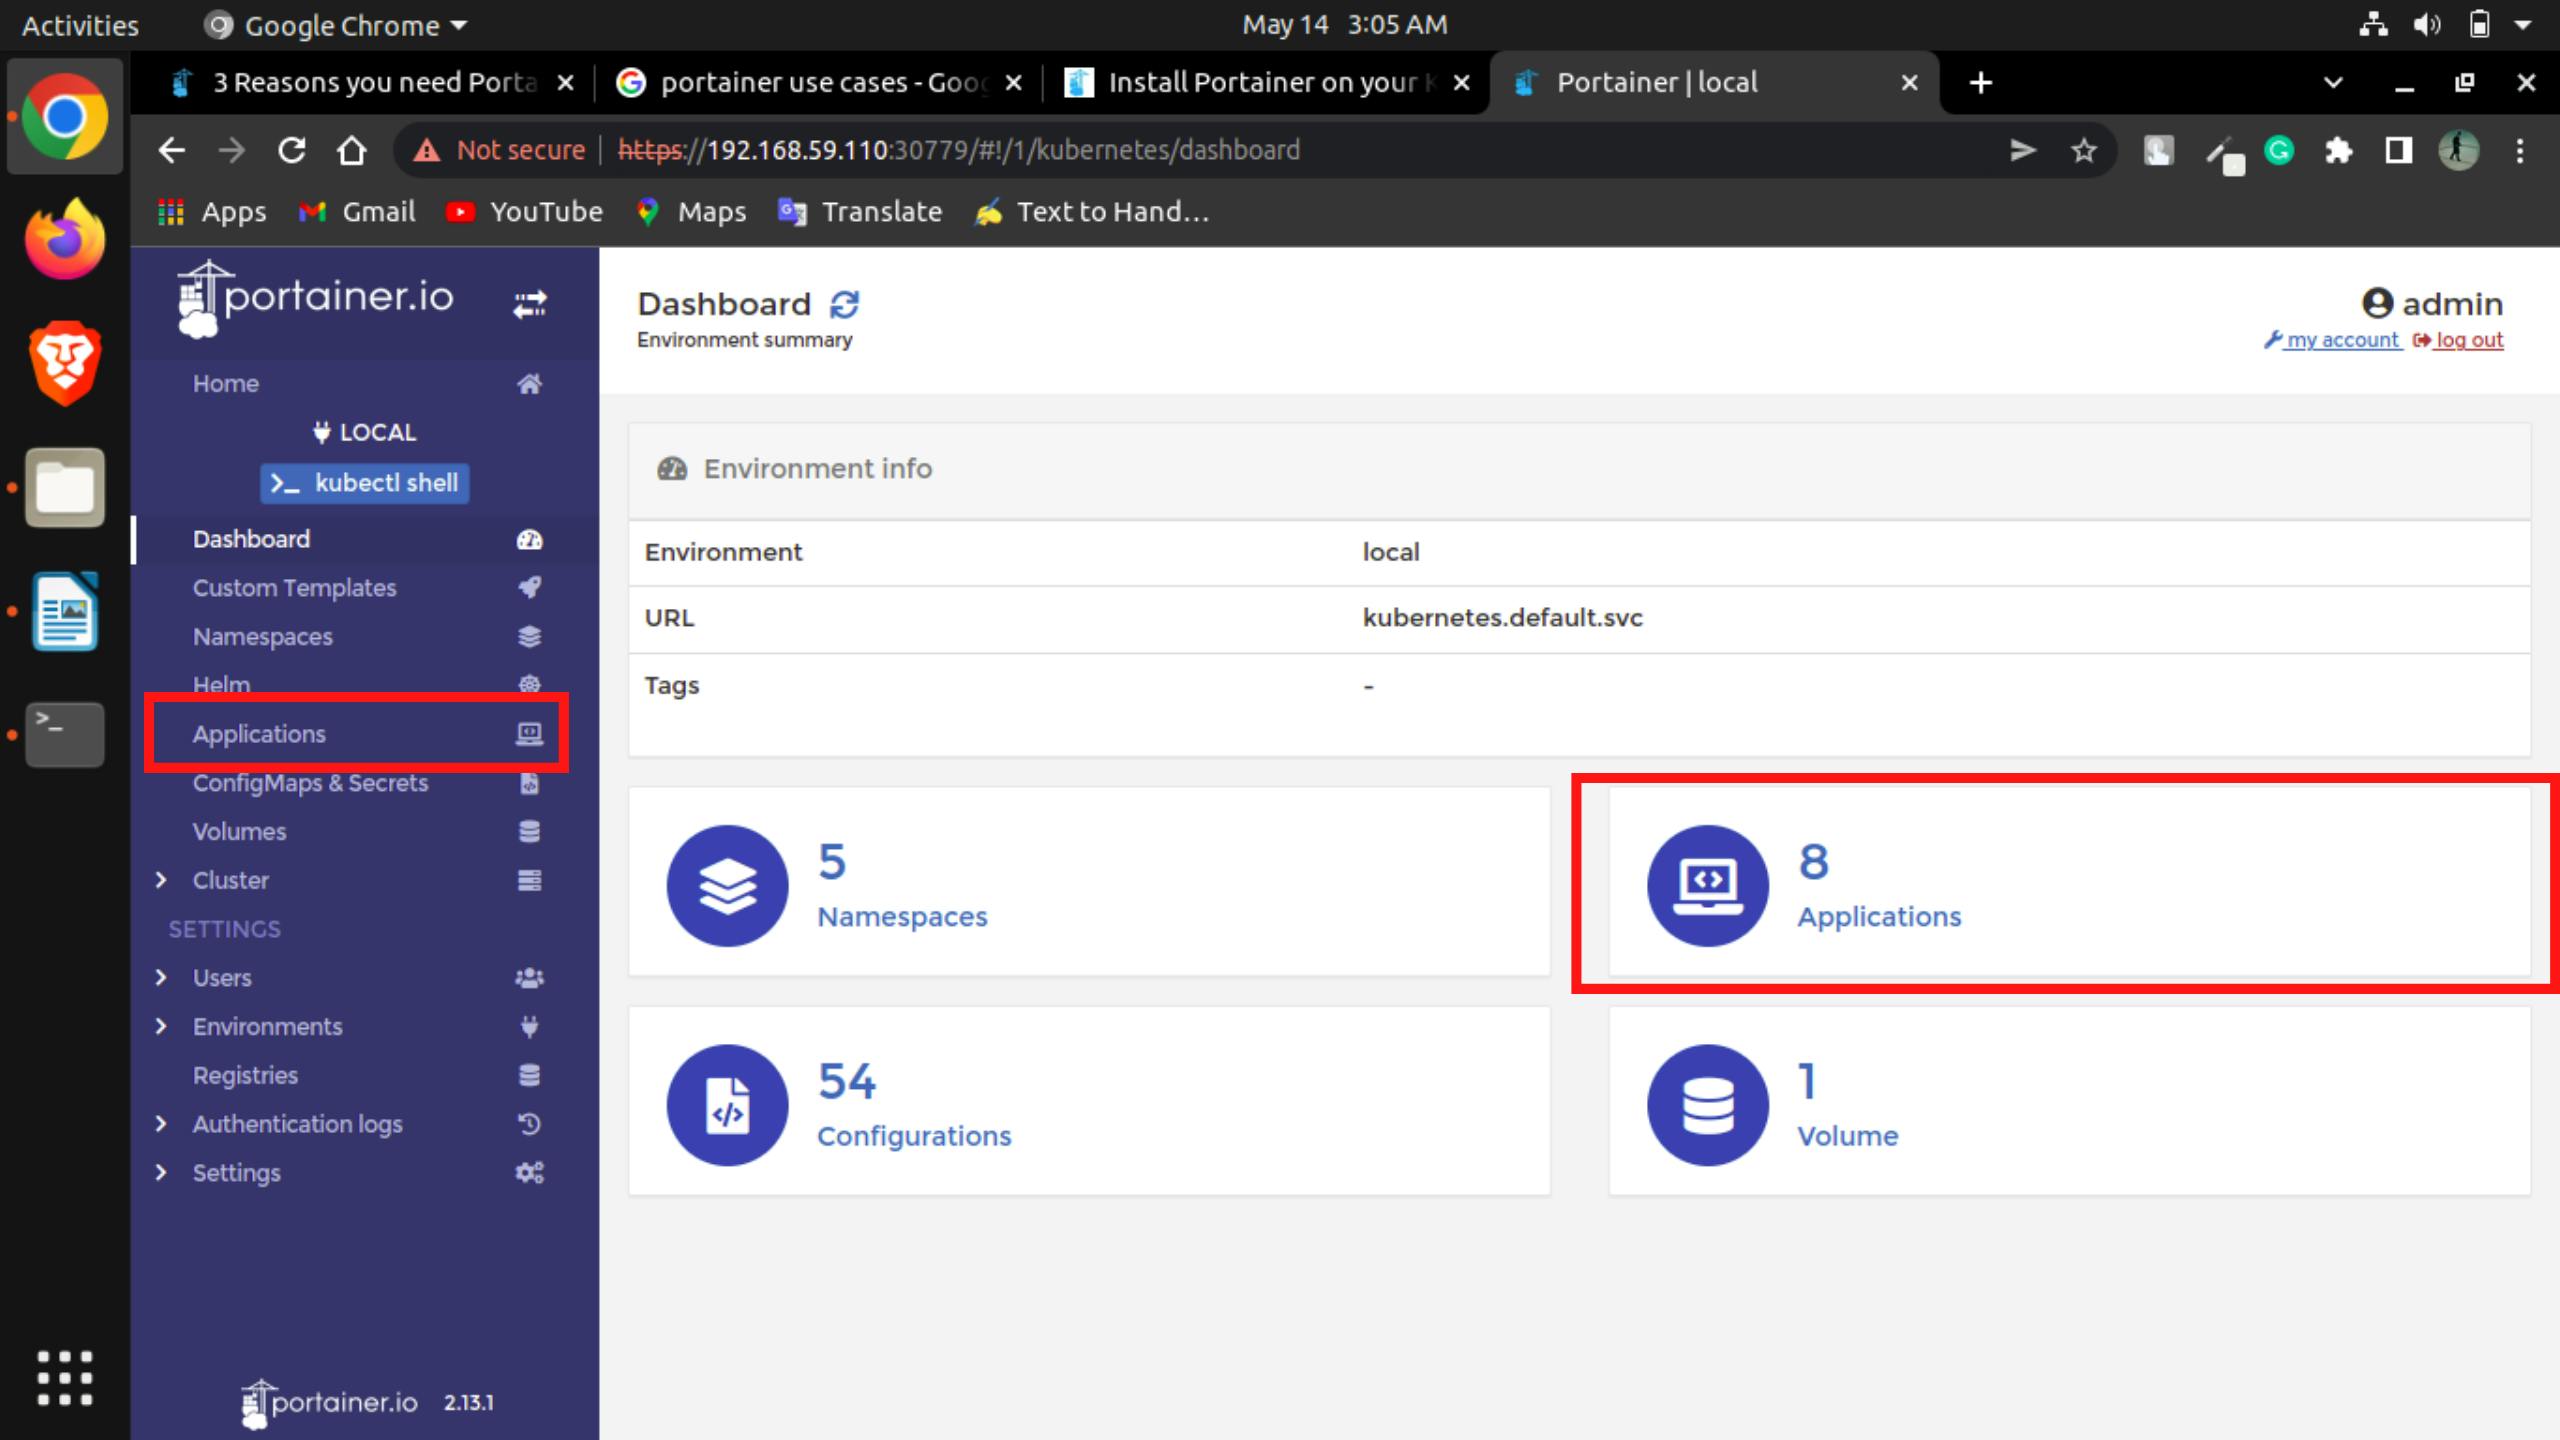
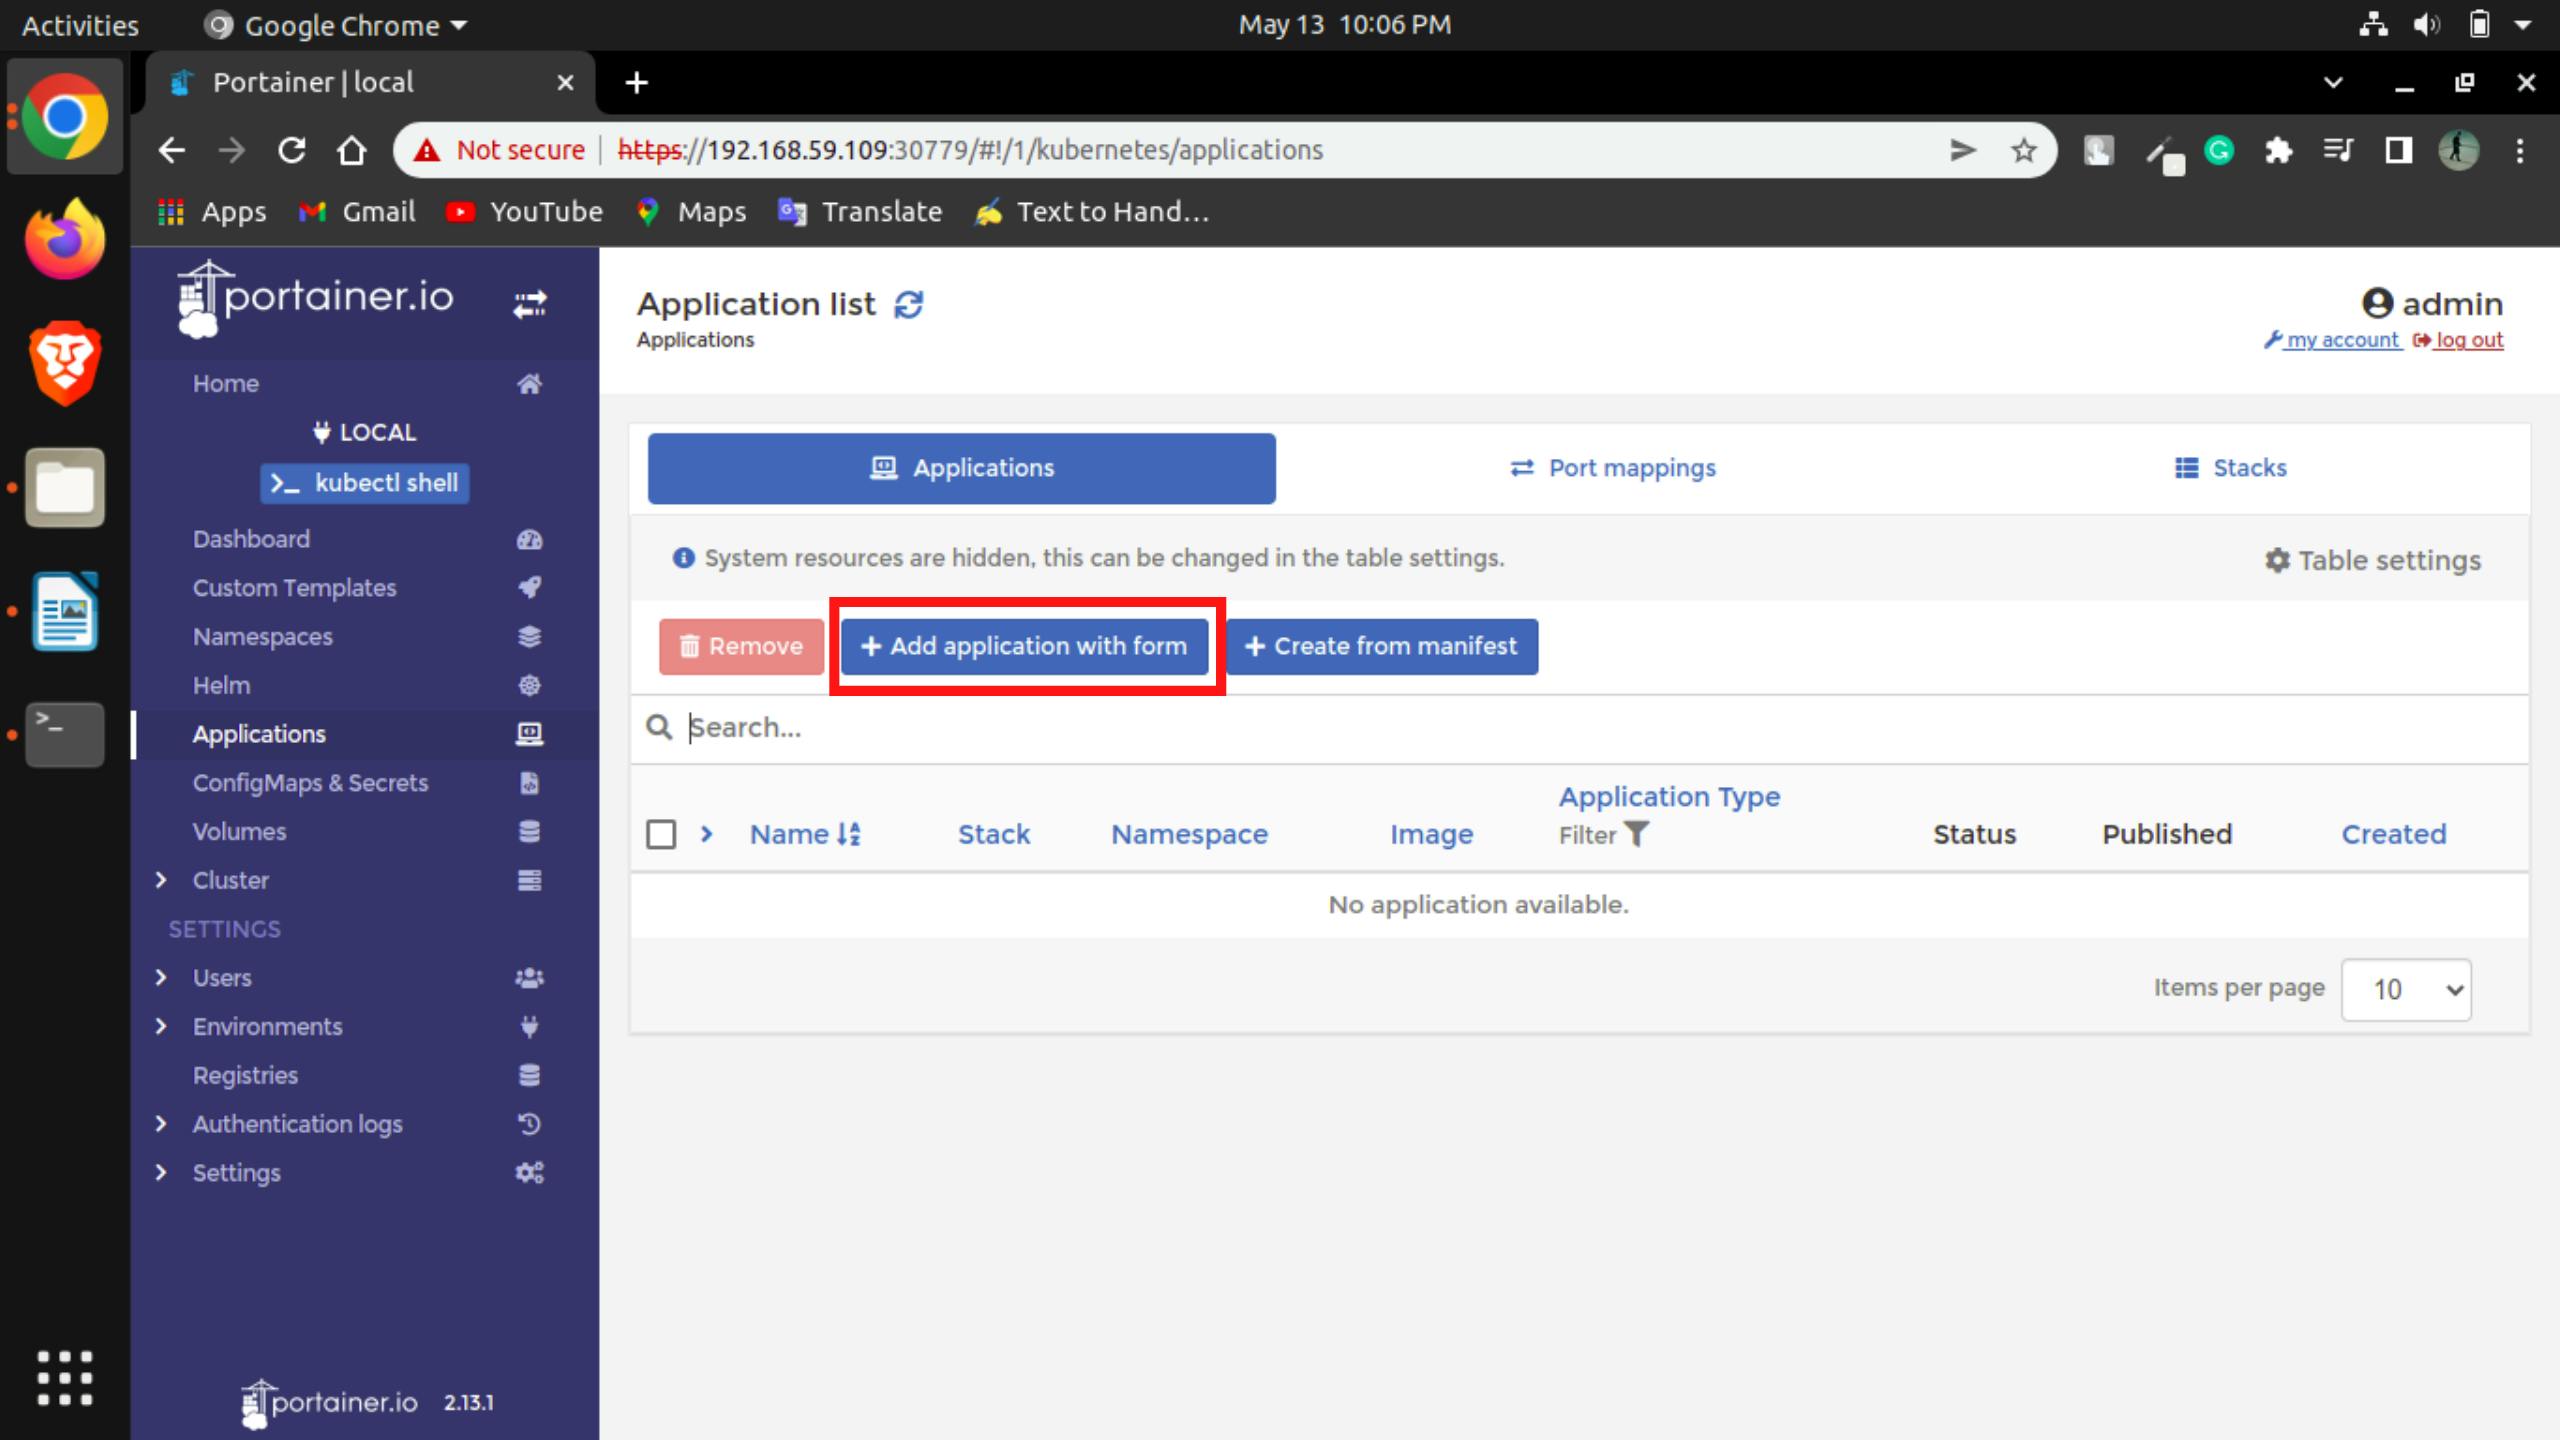
To deploy an application we have to get to the application window by clicking on the Application option in the left menu.
In the application window, we go to Add application form button.
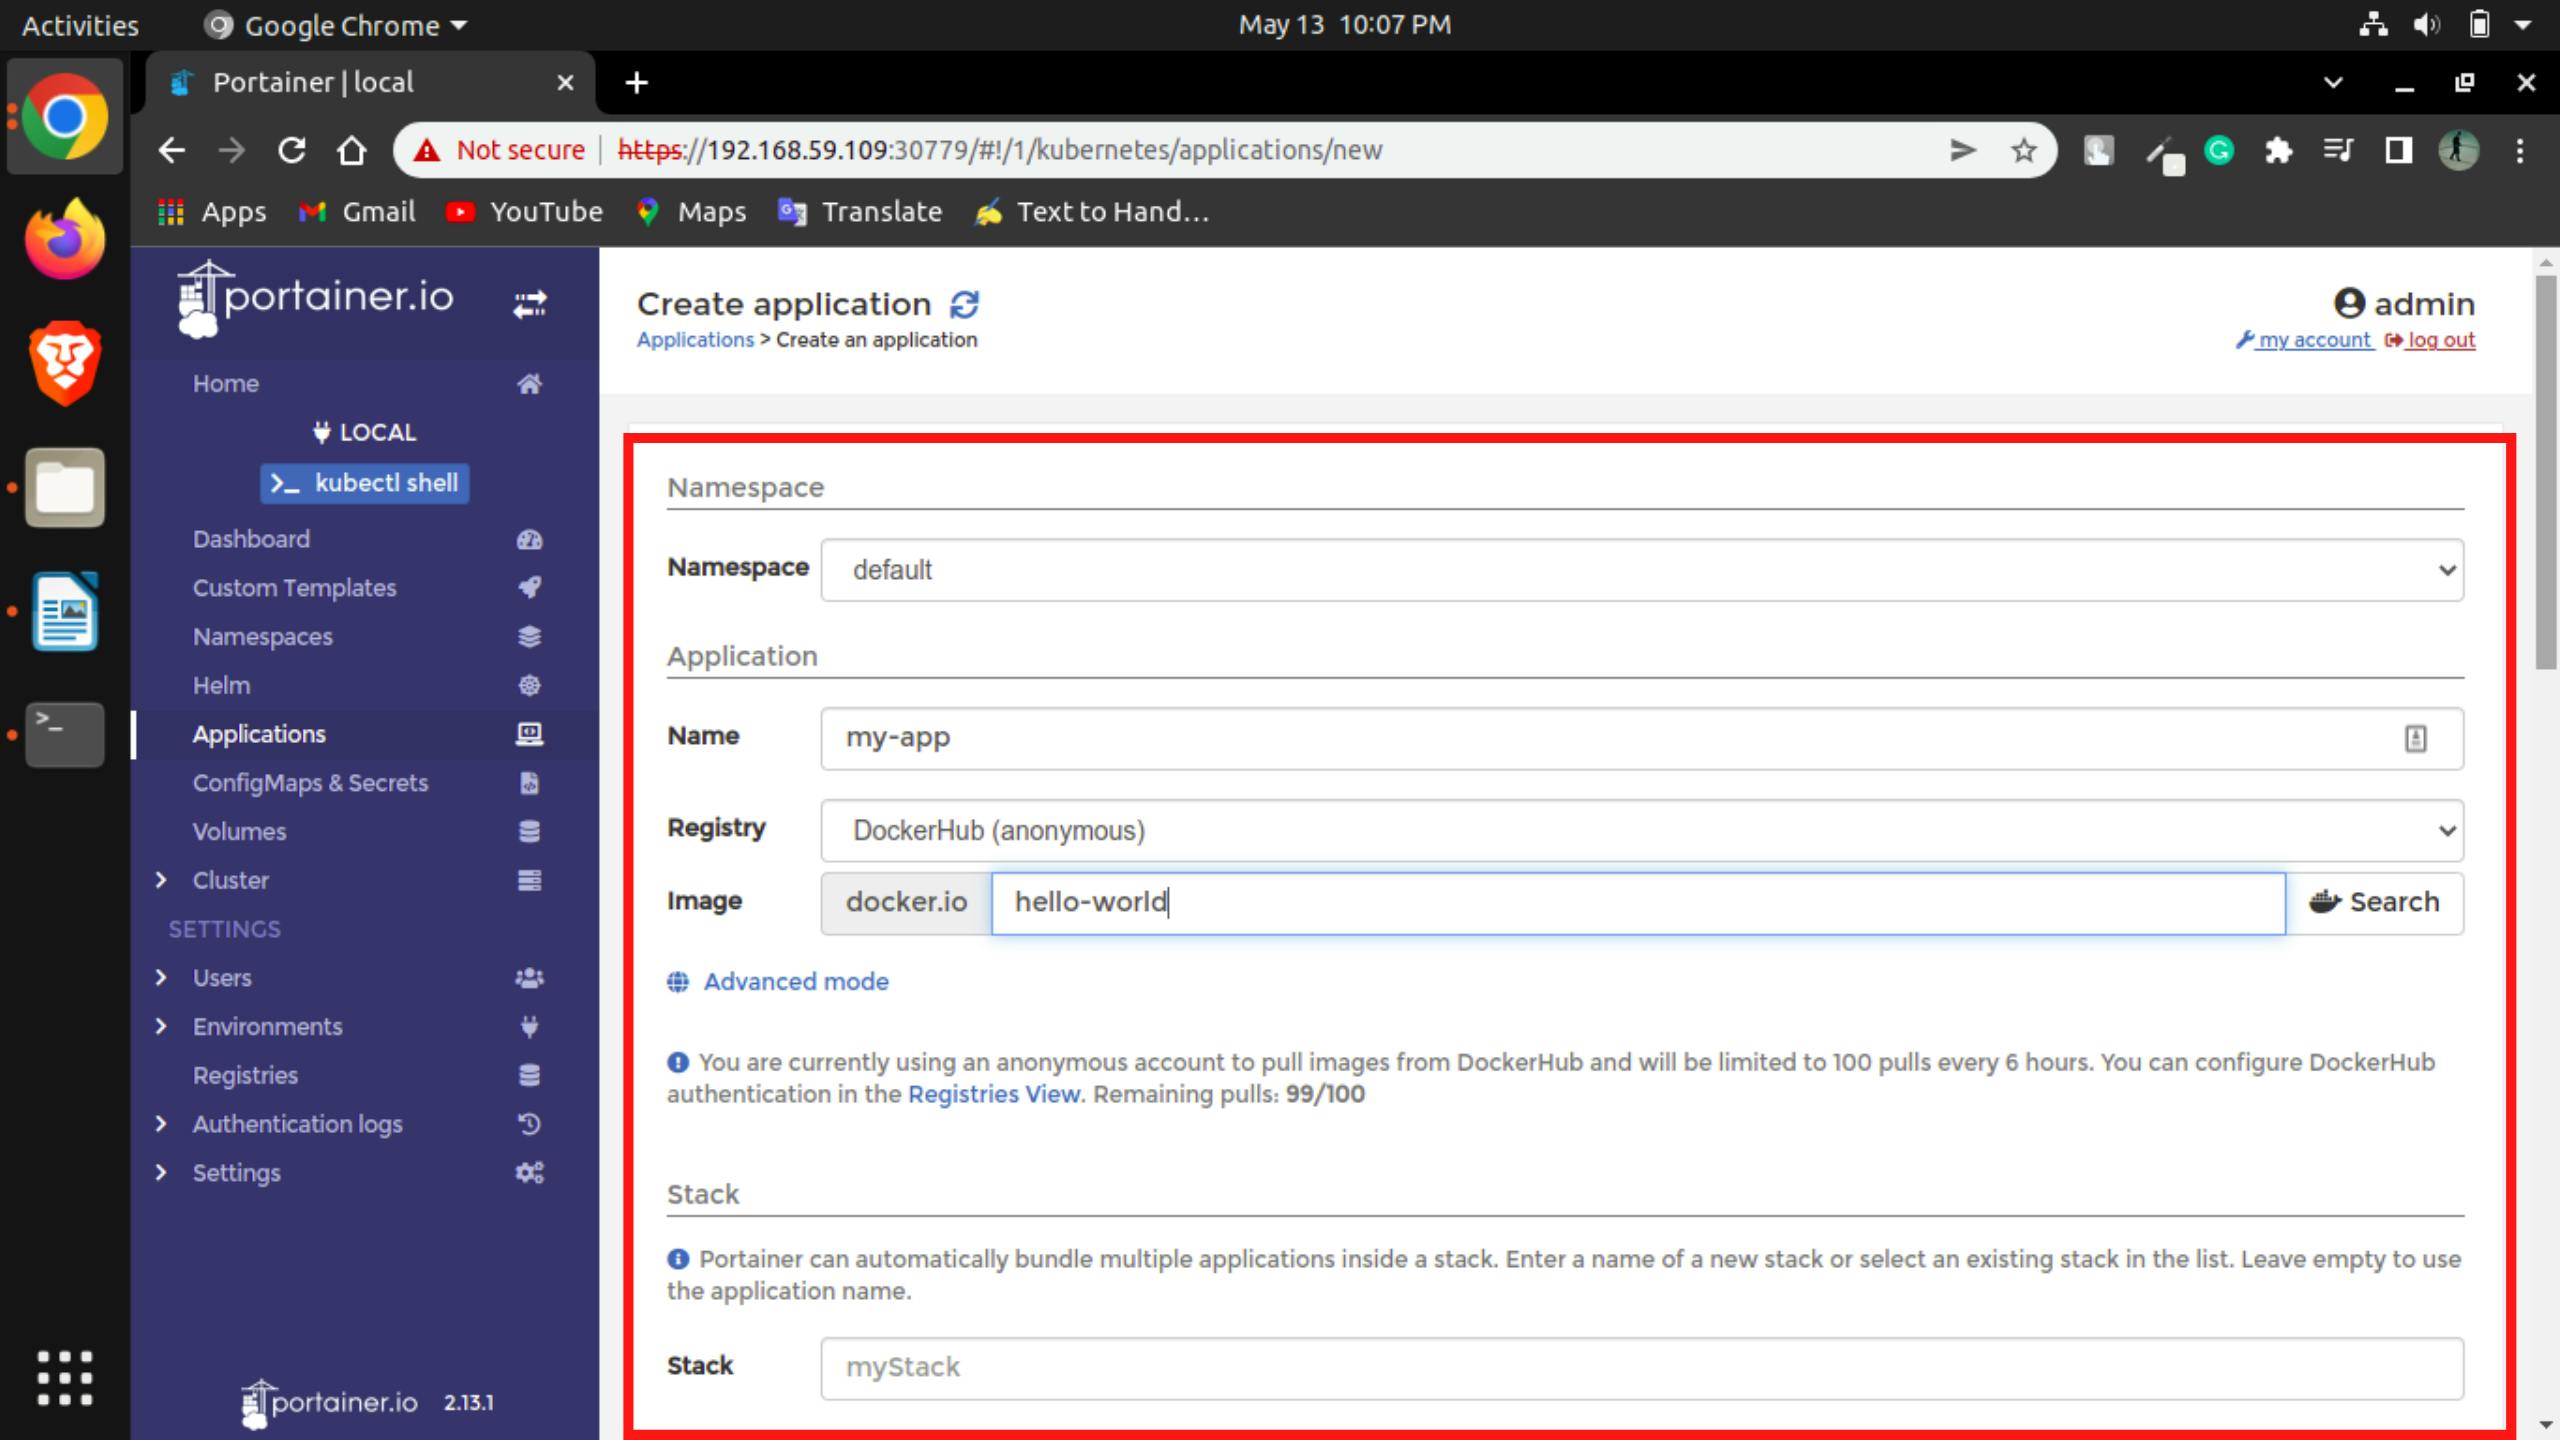
Then we will fill up a simple form to deploy our first application.
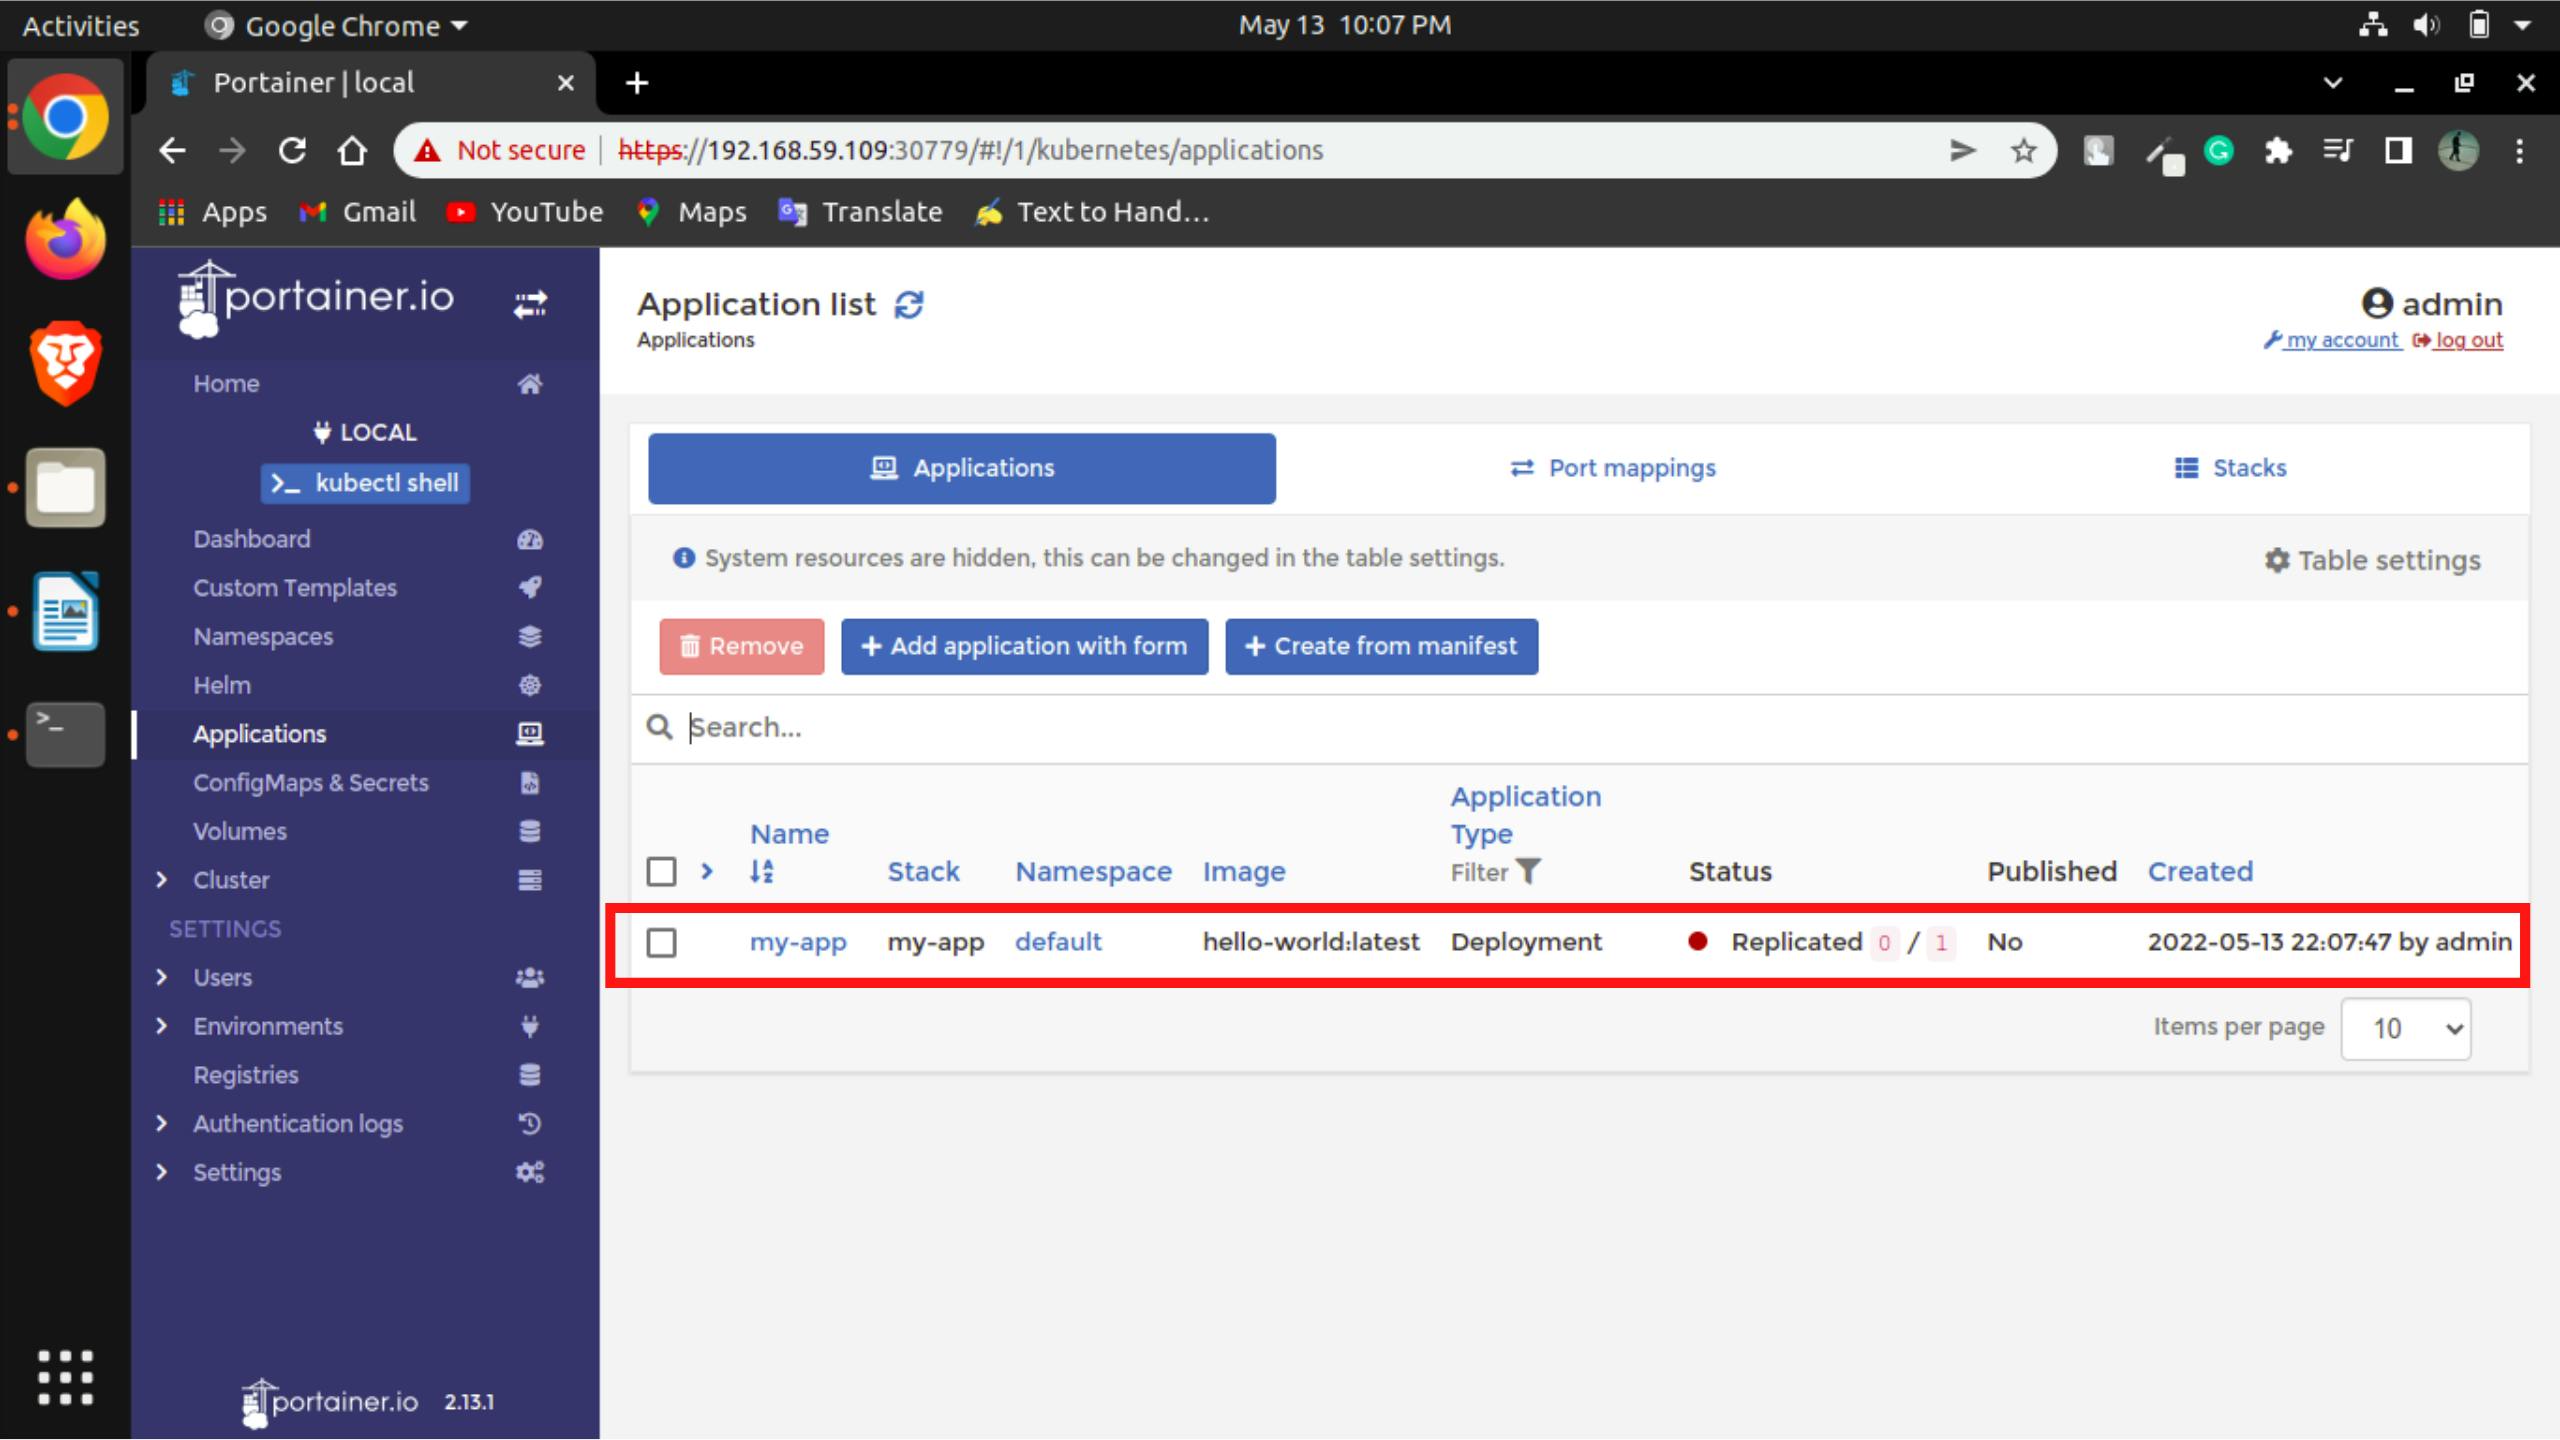
We can see below that the application has been deployed
Conclusion
In the end, I will say that portainer is a great container management tool which can be easily used even by beginners. In the DevOps culture optimizing the performance and saving the time with automation has great importance, so whatever tools provide us with such features should be utilized without a doubt.